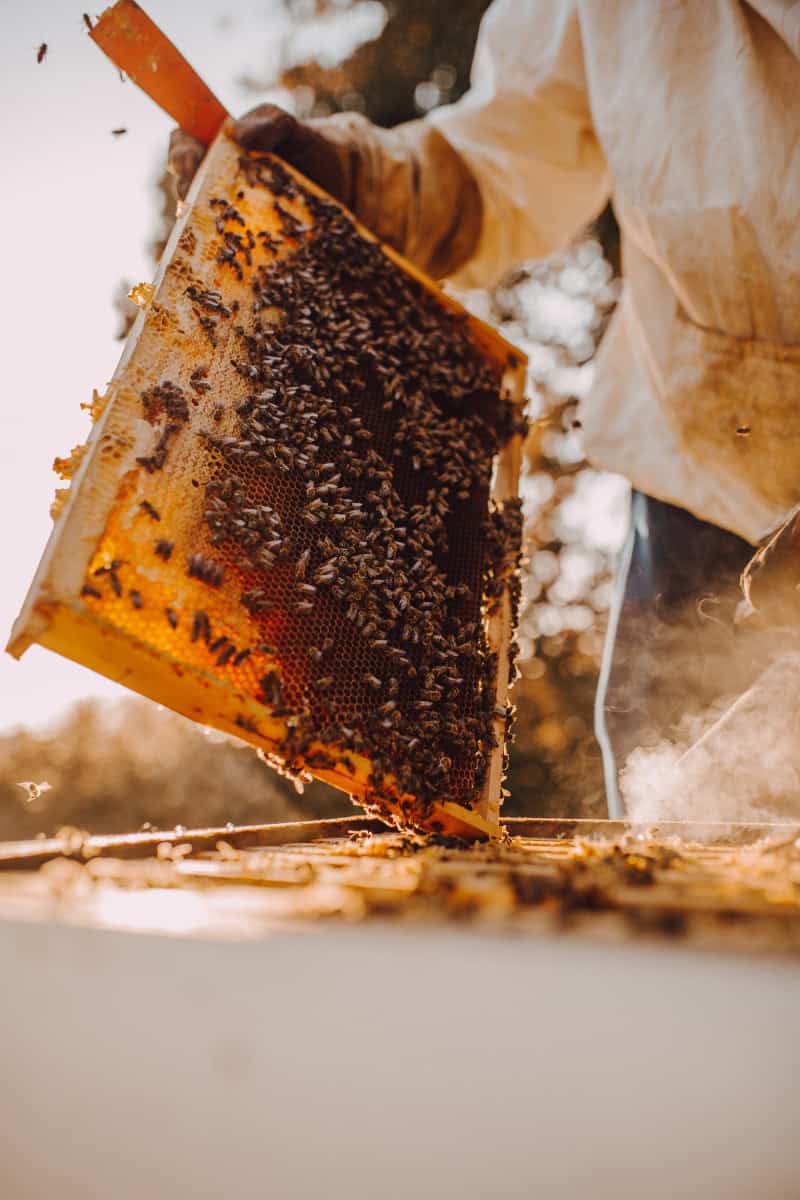

Beekeeping in early spring starts with restraint. The colony may be raising brood before the weather settles, which means its food demand is climbing while nectar and pollen can still disappear behind a cold snap. Your first job is to confirm that the bees have food, a functioning queen, and enough healthy workers to care for expanding brood without keeping the hive open longer than necessary.
When to Inspect Bees in Early Spring
Choose a mild, calm day when bees are flying and the temperature is warm enough for a brief inspection. Penn State Extension notes that honey bees typically forage when temperatures are above 61 degrees F and it is not raining. That is a useful benchmark, but wind, sun, colony strength, and how long you keep brood exposed also matter.
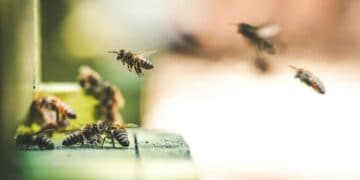
Before opening the hive, watch the entrance. Bees carrying pollen are a good sign that brood rearing is underway. A few dead bees on the landing board after winter are normal, while a blocked entrance, excessive debris, staining, or very little activity on a good flying day deserves a closer look.
What You’ll Learn
Early Spring Hive Inspection Checklist
Start with food stores, then look for evidence of a laying queen, brood condition, colony size, moisture, disease symptoms, and mite pressure. You do not need to find the queen if you see eggs and very young larvae. A compact brood pattern with larvae in several stages tells you more than a hurried queen hunt.
- Food: Check the frames immediately beside and above the brood nest for usable honey. Hefting the hive can help you notice a dangerously light colony, but opening it is the only way to see where the remaining food sits in relation to the cluster.
- Queen status: Look for eggs, small larvae, and a reasonably consistent brood pattern. Eggs prove that a queen was laying within the last few days, even if you never see her.
- Population: Note how many frames are covered with bees and whether the colony has enough workers to cover its brood. A small colony may need support, but combining colonies requires confirming queen status and disease condition first.
- Moisture and airflow: Remove entrance obstructions and replace soaked absorbent material. Correct active leaks and condensation without opening the hive so widely that it cannot retain brood heat.
- Brood health: Watch for sunken or perforated cappings, twisted or discolored larvae, chalky mummies, unusual odor, or spotty brood that cannot be explained by normal emergence.

Check Food Stores Before Feeding
Spring starvation often happens after brood rearing has started. The colony is consuming more food, yet several rainy or freezing days can stop foraging. Flowers outside the hive do not guarantee that the bees can reach them or that those blooms are producing enough nectar.
If the cluster has little accessible honey, give emergency food that matches the weather and local practice. Bees cannot take cold liquid syrup well. In colder conditions, fondant or hard sugar placed where the cluster can reach it may be more useful than a feeder full of chilled syrup.
Feeding Bees in Early Spring
Feed because the colony needs food or because you have a deliberate management goal, not because the calendar says spring. Thin 1:1 sugar syrup can support colony buildup after bees are able to take syrup reliably. Feeding also changes colony behavior, increases brood production, and can contribute to congestion if you stimulate a strong colony without giving it space.
Use an internal feeder when possible, reduce opportunities for robbing, and clean spilled syrup immediately. Avoid open feeding, which can spread disease and provoke competition among colonies. Stop stimulative feeding when a dependable nectar flow begins unless the colony still lacks stores.

Monitor Varroa Mites as Brood Expands
Varroa mites reproduce in capped brood, so their population can rise along with the spring buildup. A sticky board can show that mites are present, but a standardized alcohol wash or sugar roll gives a more useful estimate of mites per 100 adult bees. Penn State Extension describes the alcohol wash as the best method for monitoring colony mite populations and recommends keeping records so results can be compared over time.
Use a sample of about one-half cup of adult bees from a brood frame, after making certain the queen is not in the sample. Interpret the result using current regional guidance and the colony’s population phase. The Honey Bee Health Coalition identifies increasing-population colonies above roughly 2 to 3 percent as reaching a danger range, but thresholds are management guides rather than permission to ignore a rising count.
Any treatment must fit the measured mite level, temperature, brood condition, honey-super status, and product label. Treating without monitoring can waste time, expose colonies unnecessarily, and still miss the period when control would have made the largest difference. The detailed Penn State alcohol-wash protocol provides a repeatable method for sampling.

Watch the Brood Pattern for Disease
Cool, damp weather and nutritional stress can expose brood problems that were less visible during winter. Chalkbrood may leave hard white, gray, or black mummies in cells or on the bottom board. Sacbrood can leave larvae stretched along the cell with a fluid-filled, sacklike appearance.
European foulbrood often affects uncapped larvae and can produce twisted, discolored brood. American foulbrood is a serious bacterial disease associated with sunken or perforated cappings and decaying brood. Do not move questionable frames between colonies. If the brood pattern, odor, or larval condition raises concern, close the hive and contact your state apiary inspector or an experienced local beekeeping mentor before reusing equipment.
Manage Space Before Swarm Season
A colony can move from modest spring activity to congestion surprisingly fast. During each inspection, note how much brood, nectar, pollen, and open comb the bees have. Add appropriate space before the colony becomes crowded, but do not place a large volume of empty equipment over a colony that is still struggling to keep brood warm.
Queen cells along the lower edges of frames can signal swarm preparation, but cutting cells alone does not remove the conditions that started it. The colony may rebuild them. A planned split, added drawn comb, or another method suited to your equipment and local season addresses crowding more effectively than repeatedly destroying cells.
Reversing brood boxes is not an automatic spring chore. It can help in some double-deep setups when the colony has moved entirely into the upper box and weather is stable, but careless reversal can split the brood nest or put brood above empty space during cold nights. Inspect the actual brood position before moving boxes.
Control Moisture Without Overventilating
Moisture dripping onto the cluster is dangerous, but more ventilation is not always the answer. The colony still needs protection from drafts and rapid heat loss. Keep the entrance open enough for traffic, remove dead bees that block airflow, repair leaks, and replace saturated moisture-control material above the cluster.
Check that the hive tilts slightly forward so water does not collect inside. A sound cover and dry upper insulation usually do more good than opening large gaps around the hive. Match ventilation to your climate, equipment, and colony strength.

Keep Records From the First Inspection
Write down the date, weather, food stores, frames of bees, frames of brood, queen evidence, mite result, feeding, and any equipment changes. Those notes turn the next inspection into a comparison instead of another guess. A colony that looks small may be growing steadily, while a large colony with shrinking brood or rising mites may be moving in the wrong direction.
If you are still learning the equipment itself, review the parts of a beehive before the first inspection. Our guide to basic beekeeping equipment can also help you assemble what you need without carrying half the shed to the apiary.
A Practical Early Spring Routine
Begin outside the hive by watching the entrance and hefting the box. Open only when the weather allows. Confirm accessible food and queen activity, inspect the brood pattern, assess population and space, check moisture, and collect a standardized mite sample when conditions support it.
Then act on what the colony showed you. Feed a light colony, correct a leak, arrange help for a queenless hive, make a swarm-management plan for a booming colony, or schedule a follow-up inspection when the weather improves. The broader guide to maintaining a healthy beehive will help carry those observations through the rest of the season.
Frequently Asked Questions About Beekeeping in Early Spring
What temperature is warm enough for a spring hive inspection?
A mild, calm day above about 60 degrees F is a useful target for a full inspection, especially when bees are already flying. A quick emergency food check may be necessary in cooler weather, but keep brood exposure as short as possible.
Should I feed bees sugar syrup in early spring?
Feed when the colony lacks accessible stores or when you have a deliberate buildup plan. Use an internal feeder, prevent spills, and remember that bees may not take cold syrup during chilly weather.
Do I need to find the queen during the first spring inspection?
No. Eggs and very young larvae confirm that a queen was laying recently. Looking for that evidence is usually faster and less disruptive than searching every frame for the queen.
When should I test for Varroa mites in spring?
Begin monitoring as brood production and the adult bee population increase, then repeat on a schedule appropriate for your region and management plan. Use a standardized wash or sugar roll and record the result so you can see whether mite pressure is rising.
Early spring rewards beekeepers who respond to the colony in front of them. Check food before stimulation, confirm brood health before sharing equipment, measure mites before choosing control, and add space according to the bees and the weather. Those decisions give the colony a steadier path into the main nectar flow without turning the first inspection into a list of automatic chores.