

Knowing how to winterize your home comes down to working through it in order: service the heat, seal the leaks, protect the water lines, and check your safety alarms before the first hard freeze. When you live somewhere that creaks in the wind and collects snow on the sills, you notice the seasons before the calendar does, a chill under the door or a furnace that groans a little louder.
The good news is that winterizing does not have to be complicated or expensive, since most of the steps are simple preventative measures that keep your space warm, safe, and efficient. Whether you are in a drafty farmhouse or a suburban split-level, these real-life tasks will get you ready for whatever winter sends your way.

What You’ll Learn
Start With the Heart of the House: Your Furnace
Your furnace is the heart of your home in cold weather, and when it struggles, everything else gets harder. Schedule a professional checkup if you have not had one in the last year, so a technician can inspect the blower motor, ignitor, and flue pipe for safe operation. While you are at it, change the air filter, a small step of about 10 dollars that improves airflow and reduces strain on the whole system. If you heat with radiators, bleed the trapped air out now so heat spreads evenly through every room.
Seal the Air Leaks You Cannot See
Air leaks are sneaky, and you often do not notice them until your feet are cold or your heating bill climbs. Walk through the house with a lit incense stick or a candle on a breezy day, and the smoke will drift toward the drafts near windows, doors, baseboards, and attic hatches. Marking each one as you find it makes the sealing pass faster.
Sealing those leaks can cut heating costs by up to 20 percent. Use caulk for small exterior cracks and weatherstripping around door frames and windows, and reach for expanding spray foam or rubber sealant on larger gaps around pipes, wiring, and recessed lighting. You will feel the difference the next time the north wind picks up. For a deeper reference on where homes lose the most heat, the ENERGY STAR guidance on sealing and insulating your home is a reliable guide.

Add Insulation Where It Counts
Winterizing your home also means keeping warmth where it belongs, and many houses, especially older ones, are under-insulated. If you can reach your attic, check the insulation depth: less than 10 inches is a sign that adding batt or blown-in insulation will pay off. Wrap any pipes in unheated basements or crawl spaces with foam sleeves so they do not freeze on the coldest nights.
Exterior walls are trickier but not impossible. If renovations are on the horizon, consider blown-in cellulose behind the siding, and do not overlook the rim joists in the basement, which are commonly missed and let in a surprising amount of cold air.
Do Not Forget the Outside
Water is one of winter’s biggest threats, and a single frozen pipe or cracked hose bib can cause thousands of dollars in damage. Shut off and drain outdoor faucets, disconnect garden hoses, and make sure any irrigation system is fully winterized before the first freeze. This one task prevents the most expensive winter surprise homeowners face.
A pipe that has already split may need more than a thaw, especially if water has reached the soil under a slab or foundation. In those cases, trenchless pipe repair can address the damaged line without digging up the whole yard and the work usually starts with locating the leak and checking the pipe’s condition. Keep the shutoff valve easy to reach, since stopping the flow quickly can limit damage while repairs are arranged. Photograph any wet spots, cracked concrete, or muddy patches before cleanup, because those details can help show where the break began.
Walk the yard and look up at your trees, since overhanging branches can snap under snow and ice and damage your roof, gutters, or anything below. Prune now, especially dead wood, and hire an insured professional if a limb is too big to handle safely. Gutters deserve a check too, because clogged downspouts cause ice dams that back water into your roof and attic.
Damage from falling branches or ice dams can sometimes be so extensive that repairs are insufficient, necessitating a full replacement of the roofing material. When assessing whether to repair or undertake a full roof replacement, homeowners should consider the age of the existing roof, the extent of the damage and the long-term cost-effectiveness of each option. A service focused on roof replacement typically offers a detailed inspection to determine the structural integrity and provides estimates based on material choices and project scope. This process ensures homeowners make informed decisions about protecting their property for years to come.
Clear out leaves and confirm that water drains at least three feet from the foundation. You will find more seasonal prep ideas in our post on 10 Easy Sustainable Home Swaps, several of which lower energy use year-round.
Make Smart Indoor Adjustments
A few simple indoor shifts make a surprising difference. Reverse your ceiling fans so the blades spin clockwise, which pulls cool air up and pushes warm air back down into the room. If you use a fireplace or wood stove, schedule a chimney inspection and sweep if it has been more than a year, since creosote buildup is a real fire risk.
Window insulation kits are another easy win. The clear plastic film is not glamorous, but it adds a barrier against drafts without blocking your view. Install it with double-sided tape and a hair dryer to shrink it tight, then peel it off in spring.
Prep for Snow Before It Falls
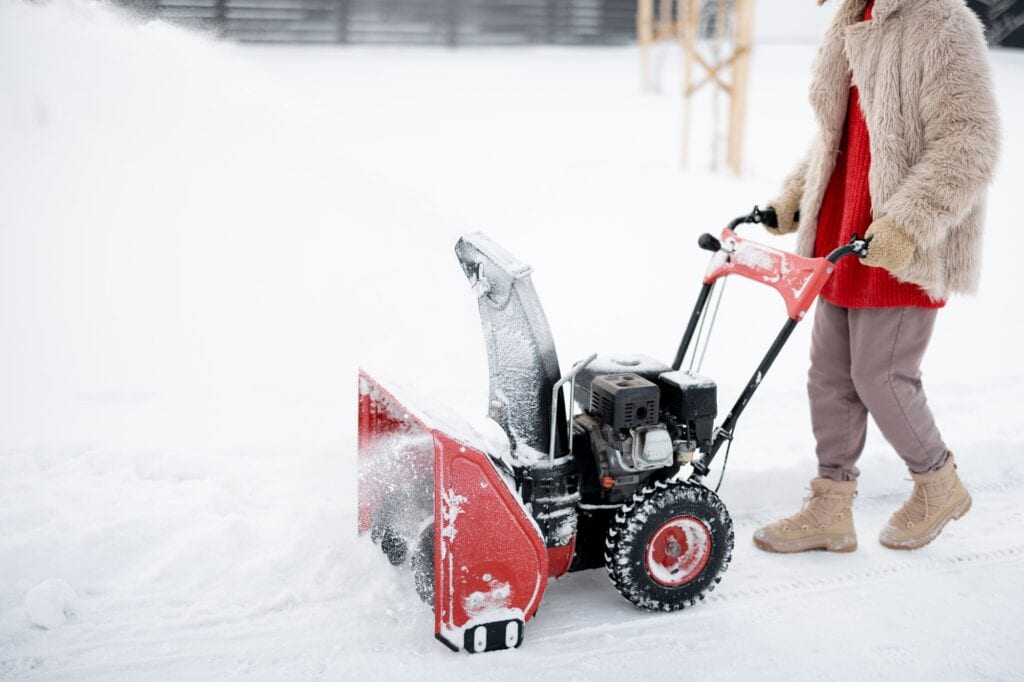
If you have ever had to dig out your snow blower in the middle of a storm, you know why this matters. Gas it up, check the spark plug, and give it a quick test run now. Make sure you have ice melt, traction sand, and a working shovel on hand, plus a roof rake if heavy snow tends to pile on your home. It is far easier to fix or replace snow gear now than when it is buried under six inches of powder.
Do a Winter Safety Check
When you seal your house to keep the cold out, you also seal the air in, which makes smoke detectors and carbon monoxide alarms more important than ever. Press the test button on each one, replace weak batteries, and check the expiration date on your fire extinguisher. Dust the detectors with a soft brush or vacuum, and if any are more than 10 years old, upgrade to a sealed-battery model. It is a quick weekend task that could save a life.
One last place to check before you settle in is the dryer vent. Lint buildup is a common fire hazard, and it is especially risky in winter when the house stays closed tight. Unhook the vent, scrub it with a dryer vent brush, and vacuum out the exterior flap. While you are at it, look at your HVAC filter again, since a MERV 11 or higher filter keeps indoor air cleaner through the months when windows stay shut.
Winter does not wait, and neither should you, but you also do not have to do everything at once. If time is short, work in order of what costs the most to ignore: service the furnace, seal the big air leaks, and protect your outdoor water lines first, then layer in insulation, snow prep, and the safety check as the days allow. Done steadily, winterizing protects your home, trims your energy waste, and buys you a season of real comfort.
When the hard work is finished, Battling Cabin Fever This Winter has cozy ideas for enjoying the season, and Cut Your Grocery Bill pairs well with a warm house. The yard needs a last pass too, so see how short to cut the grass before winter, and once the place is buttoned up, make it smell like the season with these autumn simmer pot recipes.
Frequently Asked Questions About How to Winterize Your Home
How Do You Winterize Your Home Step by Step?
Start inside with the heating system: schedule a furnace checkup and change the air filter, then seal air leaks around windows, doors, and the attic hatch. Move outside to drain faucets, disconnect hoses, clean gutters, and prune dead branches. Finish with a safety pass on smoke and carbon monoxide alarms, the chimney, and the dryer vent. Working from heat to water to safety keeps you from missing anything important.
How Much Does It Cost to Winterize a House?
Basic winterizing is inexpensive, since most steps are preventative. A furnace filter runs about 10 dollars, caulk and weatherstripping are a few dollars each, and window insulation kits are cheap. The larger optional costs are a professional furnace tune-up, a chimney sweep, and added insulation, but these still cost far less than repairing a frozen burst pipe or a chimney fire.
When Should You Winterize Your Home?
Winterize in the fall, before the first hard freeze, ideally while daytime temperatures are still mild enough for outdoor work like caulking, pruning, and draining faucets. Getting it done early means your furnace is checked before you rely on it and your snow gear is ready before the first storm. If you have not started and cold weather is already here, prioritize the furnace, air leaks, and outdoor water lines first.
What Is the Most Important Part of Winterizing a Home?
Preventing heat loss and frozen pipes delivers the biggest return. Sealing air leaks and servicing the furnace keep your home warm and your bills down, while draining outdoor faucets and wrapping exposed pipes prevents the expensive water damage a single burst pipe can cause. If you only have time for a few tasks, handle those first, then work through the rest as the season allows.