
Learning how to can tomatoes is one of the most useful preservation skills a homestead kitchen can learn. Home-canned tomatoes turn winter soup, chili, pasta sauce, stew, and casseroles into pantry meals instead of grocery runs. But tomatoes also deserve respect. They sit close enough to the acidity line that modern safe canning guidance requires added acid.
That means this is not a place to follow a vague family memory, skip the bottled lemon juice, or guess at processing time. You can still keep the work simple. You just need to use a tested method. The National Center for Home Food Preservation tomato canning guidance is the reference to keep nearby.
If you are brand new, read How to Start Preserving Food and Basic Food Preservation Techniques before you begin. Tomatoes are beginner-friendly when you follow the rules, but the rules matter.
What You’ll Learn
Choose Good Tomatoes
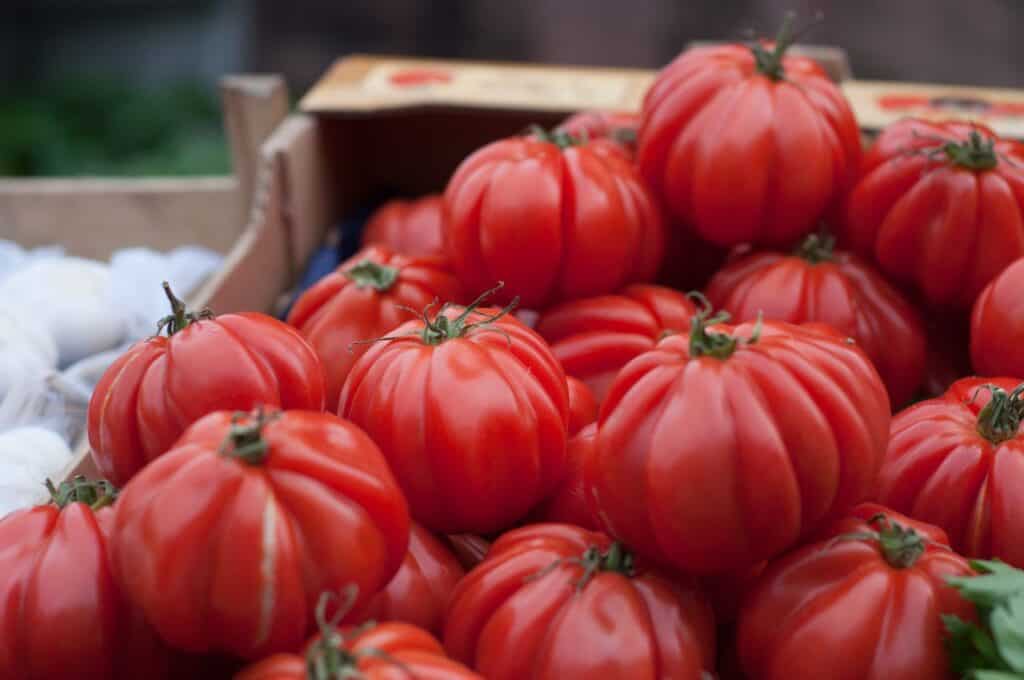
Start with ripe, sound tomatoes. Avoid tomatoes with mold, deep bruises, rot, or off smells. Overripe tomatoes can be watery and lower quality. Underripe tomatoes may not give the flavor you want. Roma and paste tomatoes make thicker jars, while slicing tomatoes are juicier.
Wash tomatoes well. Remove stems and any blemished spots. Keep your work area clean and organized before you start heating water.
Gather Equipment
You need canning jars, new lids, rings, a large water bath canner or deep pot with a rack, jar lifter, canning funnel, bubble remover or clean plastic utensil, clean towels, bottled lemon juice or citric acid, and a tested processing reference.
A pressure canner can also be used for some tomato methods, but many beginners start with a boiling-water canner for properly acidified tomatoes.
Acidification Is Not Optional
Tomatoes vary in acidity. For safe boiling-water canning, add acid to each jar using the amount specified by a tested source. Bottled lemon juice and citric acid are common options. Fresh lemon juice is not a reliable substitute because acidity varies from fruit to fruit.
Add the acid directly to the jar before filling. If the acid taste bothers you later, add a tiny bit of sugar when you cook with the tomatoes, not during canning unless the tested recipe allows it.
For a broader safety overview, see Home Canning Safety: Guidelines You Need to Know.
Peel the Tomatoes
Peeling improves texture and follows standard tested methods. Cut a shallow X in the blossom end of each tomato. Dip tomatoes in boiling water until skins loosen, usually 30 to 60 seconds. Move them to ice water, then slip off the skins.
This step is messy but quick once you find a rhythm. Keep bowls nearby for peeled tomatoes, skins, and waste.
Raw Pack or Hot Pack
Tested tomato instructions may offer raw-pack and hot-pack options. Hot pack often gives better jar fill because heating tomatoes before packing drives out air and helps them settle. Raw pack is simple but can float more.
Follow the tested method you choose exactly. Pay attention to jar size, headspace, acid amount, added liquid, and processing time.
Fill the Jars
Add bottled lemon juice or citric acid to each jar according to your tested instructions. Pack tomatoes into hot jars, add liquid if the method calls for it, and leave the correct headspace. Remove air bubbles. Wipe rims with a clean damp cloth. Add lids and rings until fingertip tight.
Do not overtighten rings. Air needs to escape during processing.
Process Correctly
Place jars on the rack in the canner. Water should cover jars by at least 1 to 2 inches. Bring to a rolling boil, then start timing according to the tested recipe and your altitude. Altitude matters because water boils at lower temperatures at higher elevations.
When processing time is complete, turn off the heat, remove the canner lid, and let jars sit briefly if your instructions call for it. Lift jars straight up and place them on a towel. Do not tilt them. Do not press the lids.
Check Seals and Store
Let jars cool undisturbed for 12 to 24 hours. Check seals after cooling. The lid should be concave and should not flex when pressed. Remove rings for storage, wipe jars, label with contents and date, and store in a cool, dark place.
If a jar does not seal, refrigerate it and use it soon, or reprocess according to tested guidance with a new lid.
What Not to Do
Do not can tomatoes in the oven. Do not use an Instant Pot or electric pressure cooker unless it is specifically approved and tested for pressure canning, and even then follow the manufacturer and USDA guidance carefully. Do not add onion, peppers, celery, garlic, herbs, meat, oil, or other low-acid ingredients unless using a tested recipe.
Tomato sauce, salsa, stewed tomatoes, and mixed vegetable tomato products are not all the same. Each needs its own tested process.
How to Use Home-Canned Tomatoes
Use canned tomatoes in chili, soup, pasta sauce, casseroles, braises, beans, shakshuka, and skillet meals. The real value is not just saving tomatoes. It is saving time. A shelf of safe jars turns garden abundance into weeknight food.
Frequently Asked Questions About How to Can Tomatoes: A Beginner’s Guide
Do I have to add lemon juice to canned tomatoes?
Yes, for boiling-water canning methods that require acidification. Use bottled lemon juice or citric acid in tested amounts.
Can I add basil or garlic to the jars?
Only if you are using a tested recipe that includes those ingredients. Add herbs later when cooking.
Why did my tomatoes float?
Floating is common, especially with raw pack. Hot pack often reduces floating.
How long do home-canned tomatoes last?
For best quality, use within about a year. Always inspect jars before using.