
Knowing how to dry herbs is one of the most useful skills in a homestead kitchen. A few bundles hung in the right spot, and you’re pulling flavor out of your garden all winter long. Here’s the complete guide from harvest timing through storage so nothing goes to waste.
What You’ll Learn
When and How to Harvest Herbs for Drying
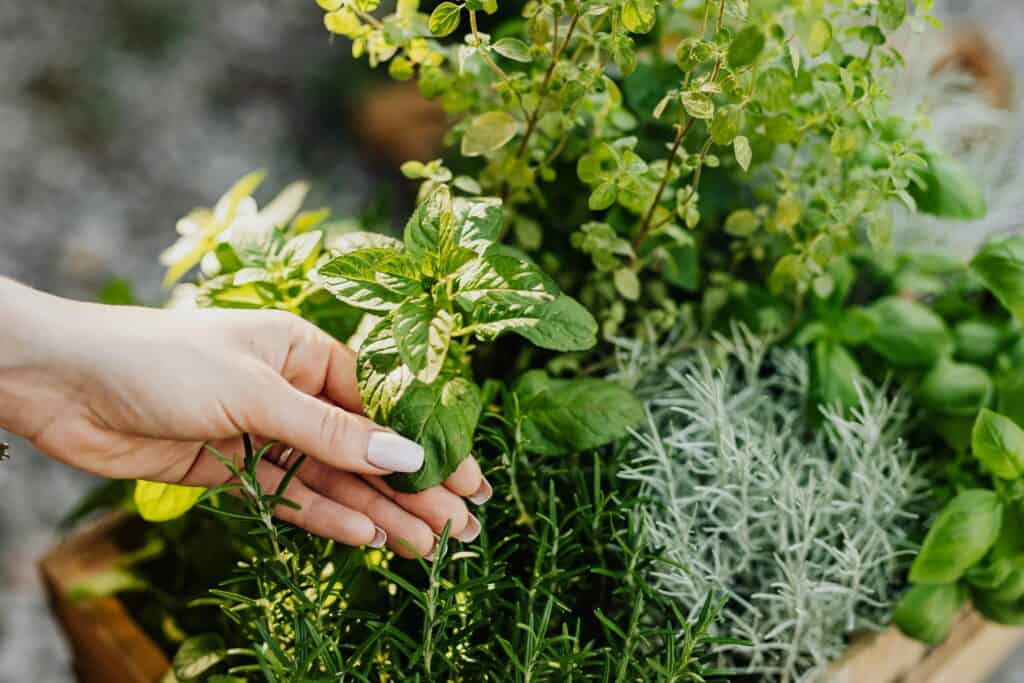
Timing your harvest makes a real difference in flavor. Cut herbs in the morning, after the dew has evaporated but before the sun gets hot. This is when the plant’s essential oils — the compounds that give herbs their flavor and aroma — are at their highest concentration.
A few harvest basics that hold across all herb varieties:
- Cut stems just above a leaf node, leaving enough plant behind to keep growing
- Choose healthy, unblemished stems — avoid anything discolored, spotted, or insect-damaged
- Shake off any debris, then rinse gently under cool water if needed and pat fully dry before drying
- Never harvest more than one-third of a plant at once
For most herbs, the best time to harvest for drying is just before the plant flowers. Once a herb bolts, energy shifts away from the leaves and the flavor starts to fade.
4 Methods for Drying Herbs
1. Air Drying (Best for Low-Moisture Herbs)
Air drying is the traditional method — no equipment needed, and it works beautifully for herbs with low moisture content.
Best for: Thyme, oregano, rosemary, sage, lavender, marjoram, bay leaves
How to do it:
- Bundle 4–6 stems together and secure with a rubber band or twine
- Hang bundles upside down in a warm, dry, well-ventilated spot out of direct sunlight — a pantry, spare closet, or covered porch works well
- Loosely cover each bundle with a paper bag (punch a few holes for airflow) to catch falling leaves and keep off dust
- Check after 1 week; most low-moisture herbs are fully dry in 1–2 weeks
- Leaves are ready when they crumble easily between your fingers
The upside-down hang isn’t just tradition — it keeps oils from pooling at the cut end and helps the stems dry at the same rate as the leaves.

2. Oven Drying (Best for High-Moisture Herbs)
Oven drying moves faster and handles herbs that would mold before air drying could finish them.
Best for: Basil, mint, tarragon, lemon balm, cilantro, parsley
How to do it:
- Preheat oven to its lowest setting — ideally 95°F–115°F (35°C–46°C)
- Spread herbs in a single layer on a parchment-lined baking sheet; leaves shouldn’t overlap
- Leave the oven door slightly ajar for airflow — this prevents cooking instead of drying
- Check every 30 minutes, turning herbs for even drying
- Most herbs are done in 1–4 hours depending on moisture content and oven temperature
Watch closely toward the end. The difference between perfectly dried basil and scorched basil is about 10 minutes.

3. Dehydrator Drying (Most Consistent Results)
A food dehydrator gives you the most control and the most consistent results, especially for large harvests.
Best for: Any herb, especially useful for large batches or humid climates where air drying is unreliable
How to do it:
- Arrange herbs in a single layer on dehydrator trays with space between pieces for airflow
- Set temperature to 95°F–115°F (35°C–46°C)
- Dry for 1–4 hours, rotating trays halfway through
- Check periodically — done when leaves crumble easily
If you’re putting up a season’s worth of herbs, a dehydrator is worth it. The low, consistent heat preserves color and flavor better than the oven.


4. Microwave Drying (Fastest Method)
When you need dried herbs quickly and only have a small amount, the microwave works — but it requires attention.
Best for: Small quantities of any herb when speed matters
How to do it:
- Lay herbs in a single layer on a microwave-safe plate lined with a paper towel; cover with another paper towel
- Microwave on high for 1 minute
- Check — if not fully dry, continue in 30-second intervals
- Stop as soon as leaves crumble easily
Herbs can go from dried to burned very quickly in the microwave. Stay close and check after every interval.
How to Store Dried Herbs
Drying is only half the process. Poor storage is the fastest way to lose the flavor you worked to preserve.
- Strip and crumble — remove leaves from stems and crumble into small pieces (but not to dust — you want some texture for cooking)
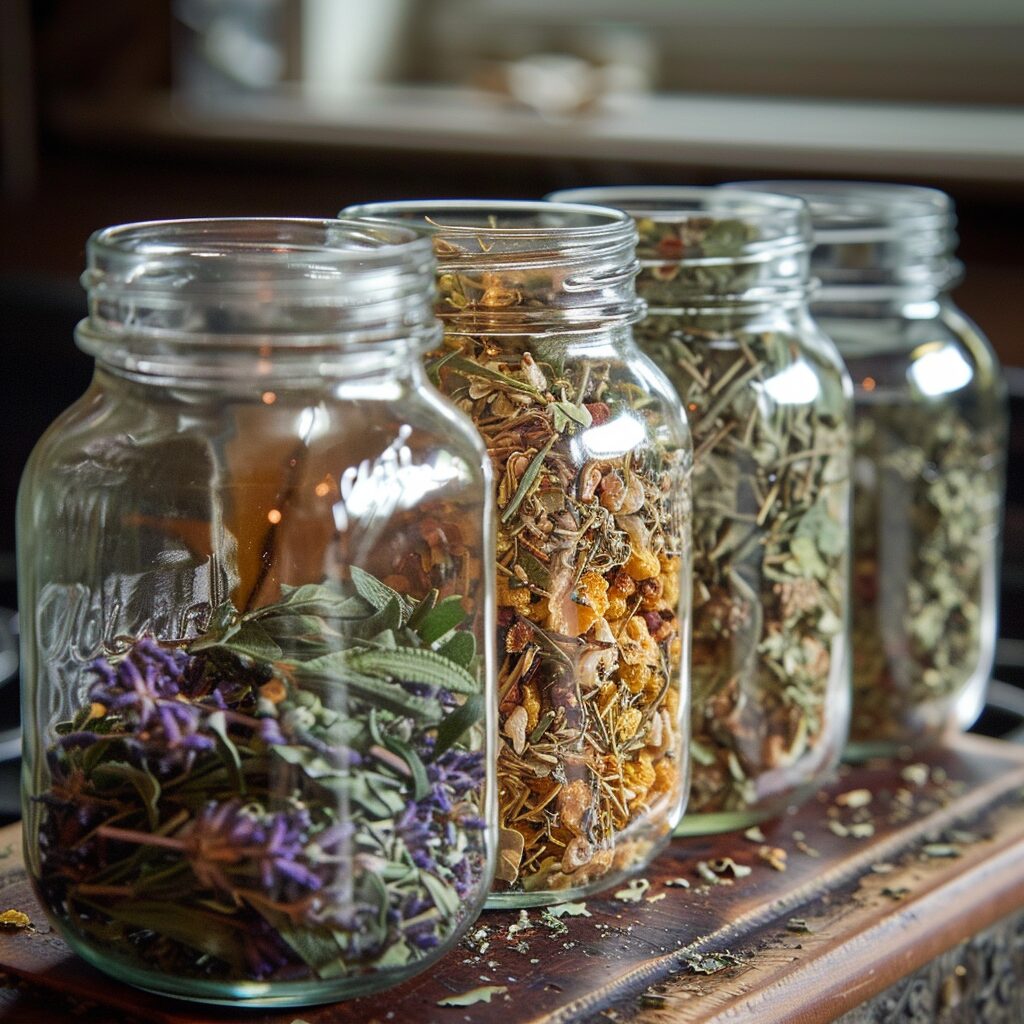
- Use airtight containers — glass jars with tight-fitting lids are ideal; resealable bags work but aren’t as long-lasting
- Label everything — herb name and date of drying; dried herbs look remarkably similar after a few months
- Store in a cool, dark place — away from the stove, dishwasher, or any heat source; a pantry shelf or cabinet is ideal
- Check at 6 months — crush a pinch and smell it; if the aroma is faint, the potency has dropped
Properly stored dried herbs hold their flavor and potency for 6–12 months. After that they’re still safe to use, just increasingly bland.
Using Dried Herbs in Cooking
Dried herbs are more concentrated than fresh — the water has been removed but the oils remain. As a general rule, use ⅓ the amount of dried herbs as you would fresh.
- 1 tablespoon fresh basil = 1 teaspoon dried basil
- 1 tablespoon fresh thyme = 1 teaspoon dried thyme
- 1 tablespoon fresh rosemary = 1 teaspoon dried rosemary
Add dried herbs earlier in the cooking process than you would fresh. They need time and heat to rehydrate and bloom. Crush or rub them between your fingers before adding to release the aromatic oils.
Dried herbs work especially well in soups, stews, sauces, marinades, spice rubs, and long braises. Reserve fresh herbs for finishing dishes, salads, and anything where brightness matters.
Frequently Asked Questions
What herbs dry best at home?
Woody, low-moisture herbs air dry most easily and reliably: thyme, oregano, rosemary, sage, lavender, and bay leaves. High-moisture herbs like basil and mint dry better in an oven or dehydrator.
How do I know when my herbs are fully dry?
Rub a leaf between your fingers. It should crumble completely and not feel pliable or soft. Any remaining flexibility means moisture is still present, and storing them too soon will cause mold.
Can I dry herbs from the grocery store?
Yes. Fresh grocery store herbs dry just as well as garden herbs. The process is identical. The only difference is you’re working with cut stems rather than freshly harvested ones, so dry them promptly.
Why did my dried herbs turn brown?
Some browning is normal, especially with basil and other high-moisture herbs. Excessive browning usually means the drying temperature was too high or the herbs were exposed to light during drying. Flavor is generally still fine even with some color change.
How long do dried herbs last?
6–12 months at peak flavor in airtight containers stored away from heat and light. They don’t spoil after that, but the flavor and potency diminish significantly. Do a smell test. If you can barely smell it when you crush it, it’s time to replace it.
Should I dry herbs with stems or remove leaves first?
For air drying, bundle and hang whole stems. It’s easier and the stems help with handling. For oven, dehydrator, or microwave drying, remove leaves from thick woody stems first for more even drying. Tender-stemmed herbs like thyme can be dried whole either way.
Looking for what to do with your dried herbs? See our guides on food preservation and homestead kitchen staples.
You need a steady supply first — start with a container herb garden. Cut it right and it keeps giving. See how to prune basil. Dried is not the only way to keep them — try herbal infused honey.