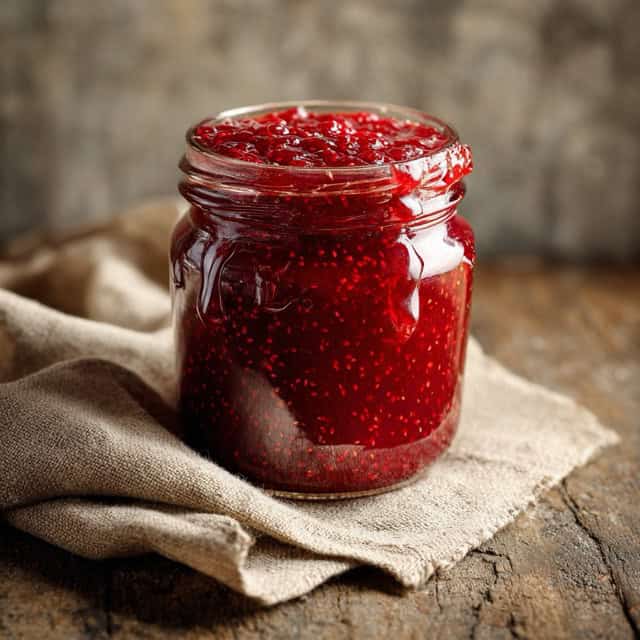
There’s something deeply satisfying about making your own jam. From selecting fresh, juicy berries to the moment you pop open a jar on a cold winter morning, it’s a simple way to bring the taste of summer into your kitchen year-round. Raspberry jam, with its perfect balance of tart and sweet, is an ideal choice for beginners and seasoned jam-makers alike. Plus, it requires only a handful of ingredients and minimal equipment to make. Here’s a guide to help you craft a batch of homemade raspberry jam, along with some tips for getting the best flavor and texture.

Why Make Your Own Raspberry Jam?
Homemade raspberry jam offers a fresher taste than store-bought options and gives you complete control over the ingredients. You’ll know exactly what’s in each jar—just fresh raspberries, sugar, lemon juice, and pectin. This simplicity means your jam will highlight the natural flavor of the berries without any additives or preservatives. And if you’re fortunate enough to have a raspberry bush, making jam is a fantastic way to preserve the bounty and avoid waste.
Choosing and Preparing the Ingredients
For a successful batch of raspberry jam, it’s worth paying attention to each ingredient:
Fruit Pectin: Pectin is a natural substance found in fruit that helps jam set and thicken. While raspberries contain some pectin on their own, adding a packet ensures a more reliable consistency. If you prefer a looser, more spreadable jam, you can experiment with using less pectin or skipping it entirely, but keep in mind the jam may take longer to reach the desired thickness.
Hoosier Hill Farm Fruit Pectin is a specially formulated dry blend that’s perfect for thickening jams and jellies.
Fresh Raspberries: Ripe, fresh raspberries are key to a flavorful jam. Look for bright, evenly colored berries that are firm but not hard. Avoid any with mold or mushiness. Freshly picked raspberries often have the best flavor, so if you can, try to find them at a local farmer’s market or pick them from your garden. If fresh raspberries aren’t available, you can use frozen ones, though they may need a bit more cooking time to achieve the right consistency.
Granulated Sugar: Sugar not only sweetens the jam but also acts as a preservative, helping to maintain the color and texture of the berries over time. Granulated sugar is the standard choice for jam-making as it dissolves easily and won’t alter the flavor of the fruit.
Lemon Juice: Adding lemon juice balances the sweetness with a touch of acidity, enhancing the overall taste of the jam. The acidity also helps the pectin set properly, so don’t skip this ingredient. Fresh lemon juice is preferred, but bottled lemon juice works well too.

Step-by-Step Guide to Making Raspberry Jam
Let’s dive into the jam-making process. You’ll need a large pot, a potato masher or fork, a ladle, and sterilized jars for storing your finished jam.
- Mash the Raspberries: Place the raspberries in a large pot and use a potato masher or fork to mash them. Breaking them down at the beginning releases their natural juices, which helps the jam cook evenly and avoids big chunks in the final product. If you prefer a smooth jam, mash the berries thoroughly; for a chunkier texture, you can leave a few larger pieces.
- Mix in the Sugar and Lemon Juice: Add the sugar and lemon juice to the mashed raspberries and stir well to combine. The sugar will start to dissolve into the fruit, creating a thick, syrupy base.
- Bring to a Boil: Place the pot over medium-high heat and bring the mixture to a boil, stirring constantly. This is a crucial step, as boiling allows the pectin to activate and the jam to thicken. Keep stirring to prevent the fruit from sticking to the bottom of the pot and to ensure that the jam cooks evenly.
- Add the Pectin: Once the mixture is boiling, stir in the packet of fruit pectin. Continue stirring and let the jam boil for another 2-3 minutes, or until you notice it starting to thicken. The pectin will help the jam reach that classic, spreadable consistency.
- Check for Thickness: To test the consistency, you can use a simple plate test. Place a small spoonful of jam on a cold plate and let it sit for a few seconds. If it wrinkles slightly when you push it with your finger, the jam is ready. If it’s too runny, continue cooking for another minute and test again.
- Remove from Heat and Cool: Once the jam has reached the right thickness, remove the pot from the heat and let it cool for a few minutes. This resting time helps the jam settle and makes it easier to pour into jars without bubbling up.
- Pour into Sterilized Jars: Carefully ladle the jam into sterilized jars, leaving about 1/4 inch of space at the top. Wipe the rims of the jars to ensure they’re clean, then seal them tightly with lids. If you plan to store your jam for several months, consider processing the jars in a hot water bath for added preservation.
- Cool and Store: Let the jars cool to room temperature. Once cooled, store them in a cool, dark place, such as a pantry or cupboard. Properly sealed, your raspberry jam can last up to a year. Once opened, keep it in the fridge and enjoy within a few weeks.
Caraway Nonstick Ceramic Sauce Pan with Lid (3 qt) - Non Toxic, PTFE & PFOA Free - Oven Safe & Compatible with All Stovetops (Gas, Electric & Induction) - Sage
Tips for Perfect Raspberry Jam
To make the best jam possible, here are some helpful tips:
- Use Sterilized Jars: Clean jars are essential to prevent bacteria growth and ensure your jam stays fresh for months. You can sterilize jars by boiling them in water for about 10 minutes or washing them in a dishwasher with a high-heat setting.
- Adjust Sweetness to Taste: While this recipe calls for a 1:1 ratio of raspberries to sugar, you can adjust the sugar to your preference. Keep in mind that reducing the sugar too much may affect the jam’s ability to set, especially if you’re relying on the sugar for preservation.
- Experiment with Add-Ins: For a unique twist, consider adding a touch of vanilla extract, a sprinkle of cinnamon, or even a few sprigs of fresh herbs like basil or thyme. These additions can enhance the flavor of your jam, making it a little more special.
Enjoying Your Raspberry Jam
Once you’ve made your jam, there are endless ways to enjoy it. Here are just a few ideas to get you started:
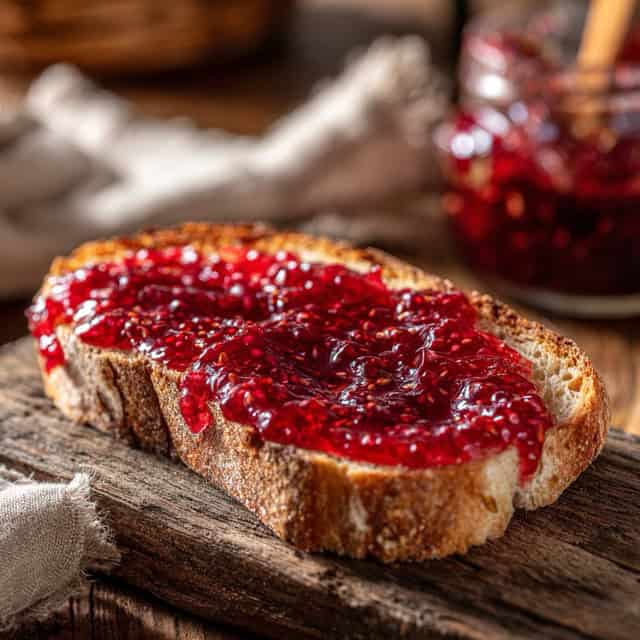
- Spread on Toast: Classic and simple, raspberry jam on warm toast is a treat any time of day. Try it on buttered toast or with a smear of cream cheese for a creamy contrast.
- Stir into Yogurt: A spoonful of raspberry jam adds a fruity sweetness to plain yogurt. Mix it into your morning bowl for a quick and easy breakfast.
- Layer in Desserts: Raspberry jam works beautifully in layered desserts like trifles or parfaits. It adds both flavor and color to sweet treats, pairing especially well with whipped cream, vanilla, or chocolate.
- Swirl into Muffins or Cakes: Use your homemade jam to add flavor to baked goods. Swirl it into muffin or cake batter for a pop of fruitiness, or spread a layer between cake layers for added moisture.

Bringing It All Together
Making raspberry jam at home is a simple, rewarding process that lets you savor the flavor of fresh berries long after the season ends. With just a few ingredients and some basic kitchen tools, you’ll have jars of homemade goodness ready to enjoy or share with friends and family. This jam is an excellent way to preserve summer’s harvest and bring a bit of homemade sweetness to any occasion.
Print
Easy Homemade Raspberry Jam Recipe
- Total Time: 20 minutes
- Yield: 30 servings 1x
Ingredients
4 cups fresh raspberries
4 cups granulated sugar
1/4 cup lemon juice
1 packet (1.75 oz) fruit pectin
Instructions
In a large pot, mash the raspberries using a potato masher or a fork.
Add sugar and lemon juice to the mashed raspberries and mix well.
Bring the mixture to a boil over medium-high heat, stirring constantly.
Once boiling, stir in the fruit pectin.
Continue boiling for 2-3 minutes, or until the jam starts to thicken.
Remove from heat and let it cool for a few minutes.
Pour the jam into sterilized jars, leaving about 1/4 inch of space at the top.
Seal the jars tightly and let them cool to room temperature.
Store in a cool, dark place.
- Prep Time: 10 minutes
- Cook Time: 10 minutes
- Category: jam


