
Planning a homestead orchard is the difference between a row of struggling sticks and a stand of trees that feeds your family for decades. A productive homestead orchard comes down to matching the right fruit trees to your climate and soil, spacing them well, and caring for them closely through the first few years. Fruit trees add beauty to the land and fill your kitchen with fresh fruit for eating, baking, canning, and preserving. This guide walks through every step, from reading your site to picking your harvest, so you can plant with confidence and patience.

What You’ll Learn
Understanding Your Site Before You Plant a Homestead Orchard
The first thing to understand is your local growing environment, because it decides which trees will thrive. Start with your USDA hardiness zone, which divides the country into 13 zones based on average annual minimum winter temperature and tells you which varieties can survive and fruit where you live. Then look closer at the microclimates on your own property.
Elevation, slope, wind, sun exposure, and nearness to water all shift conditions from one corner of your land to another. A south-facing slope in zone 5b can behave more like zone 6a, giving you a warmer pocket for more cold-sensitive fruit. Walk your property and mark these spots, since they let you stretch what you can grow. You can pull historical rainfall, frost dates, and temperature data from the National Weather Service or your local agricultural extension.

Soil Quality and Drainage
Most fruit trees grow best in deep, well-drained, loamy soil with moderate fertility and plenty of organic matter. Shallow or dense clay drains poorly and restricts roots, while very sandy soil drains too fast to hold moisture and nutrients. Before planting, have your soil tested through your local extension to learn its texture, drainage, pH, and nutrient levels. That test lets you amend with compost or aged manure to fix fertility, structure, and drainage before a single tree goes in the ground.
Selecting Suitable Fruit Tree Varieties
With your climate and soil understood, you can choose varieties that fit. A good homestead orchard mixes fruit types and ripening times so the harvest stretches across the season instead of arriving all at once. These are the workhorses of most home orchards:
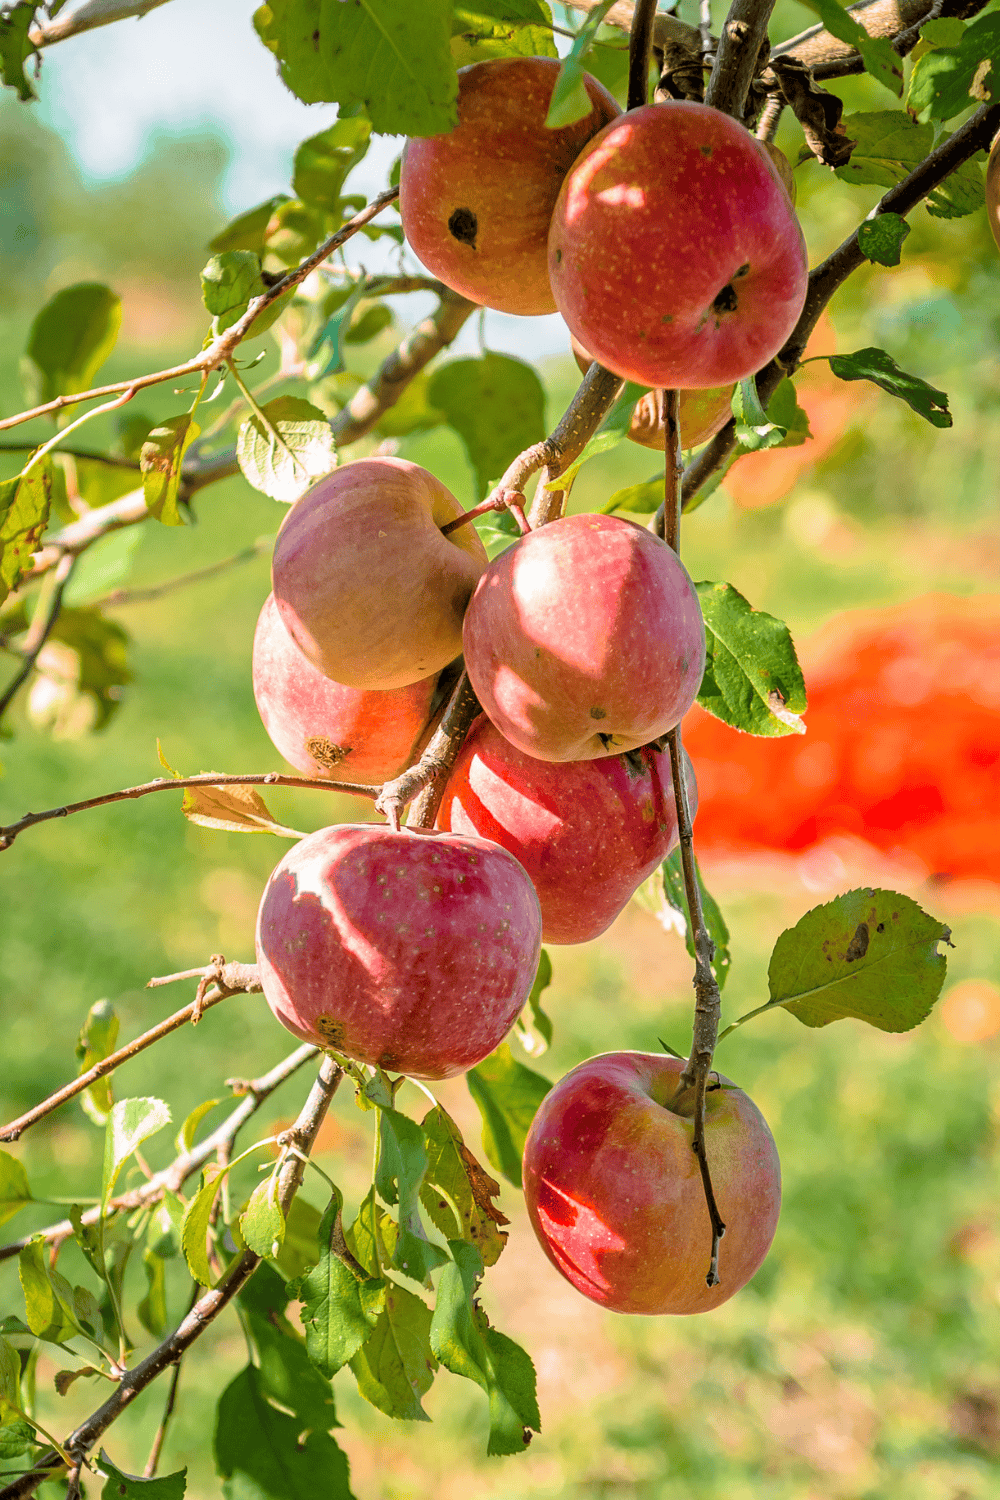
- Apples: the most versatile choice, with varieties for fresh eating, baking, sauce, and cider. Plant early, mid, and late types to extend the harvest.
- Pears: European and Asian pears offer a wide range of flavors, textures, and ripening dates.
- Stone fruits: cherries, peaches, nectarines, plums, and apricots, chosen in climate-adapted varieties.
- Citrus: oranges, lemons, and limes, only where winters stay mild.
- Berries: self-pollinating blueberries, blackberries, raspberries, grapes, and gooseberries round out the tree fruit.

When you compare varieties, weigh mature size (standard, semi-dwarf, or dwarf), chill hours and hardiness, harvest season, intended use, pest and disease resistance, and pollination needs. A reputable nursery lists all of this on the tag or catalog page, so read it before you buy.
Choosing Rootstocks
The rootstock, not the variety, controls a tree’s mature size along with its disease resistance and how efficiently it yields. For homestead orchards, dwarf rootstocks reach 8 to 10 feet and suit very small spaces, semi-dwarf reach 12 to 15 feet and balance smaller size with fuller growth, and semi-standard reach 15 to 20 feet for the most vigor and production. Weigh your available space, target yields, soil, and climate, then use a nursery rootstock guide to match a rootstock to each variety.
Pollination Needs
Pollination catches many new growers off guard. While some fruits like sour cherries, apricots, and many peaches set fruit on their own, most apples, pears, and plums need cross-pollination from a second compatible variety that blooms at the same time. Check the pollination group of every variety you choose, interplant compatible partners within bloom range, and consider a beehive to boost fruit set across the whole orchard.
Designing Your Homestead Orchard Layout
Once varieties and rootstocks are settled, map the orchard on paper before you dig. A good layout gives every tree light, airflow, and room to grow, and it saves you years of awkward mowing and harvesting. Choose a site with full sun, at least six hours a day, good air drainage to avoid frost pockets, a gentle slope for cold-air and water runoff, easy access to irrigation, and some shelter from strong wind.

Space trees by their mature size so canopies do not crowd: roughly 20 to 25 feet apart for standards, 15 to 18 feet for semi-dwarfs, and 10 to 12 feet for dwarfs. Orient rows north to south so sun reaches both sides of the canopy, group trees with shared water and pollination needs together, and keep primary walkways five to six feet wide for equipment. Time spent mapping tree placement pays off in easier care for years to come.
Planting Your Fruit Trees
Prepare the ground first by clearing perennial weeds, working in two to four inches of compost or aged manure, and loosening the soil 8 to 12 inches deep. Dig a saucer-shaped hole at least twice as wide as the root ball but no deeper than the tree sat in its nursery pot, so roots spread out horizontally and the graft union stays above the soil line.

Timing matters as much as technique. In most temperate regions the best windows are early spring before buds break or fall once trees go dormant, while container trees allow more flexibility if you keep them watered. Follow a simple sequence at planting:
- Inspect the roots and prune away any damaged sections with clean shears.
- Set the tree in the center with the graft union 2 to 4 inches above the soil line, and spread the roots so they do not curl or bunch.
- Backfill in stages, tamping gently and watering to settle the soil and remove air pockets.
- Build an earthen berm around the hole to hold water, then water thoroughly every day for the first week.
- Install tree guards to protect the trunk from rodents and deer.
Caring for Your Developing Orchard
The first few years after planting decide whether trees mature into heavy producers, so steady attention to water, weeds, pruning, and pests pays off later. Newly planted trees need supplemental water every two to three days to establish roots, more often in heat, while maturing trees still need irrigation during drought and fruit development. An average mature tree may use 15 to 30 gallons a week depending on soil drainage, so check soil moisture weekly rather than guessing.
Feed lightly and control competition. Apply a balanced organic fertilizer such as alfalfa meal to young trees, and feed mature trees mostly in early spring before bud break with compost, manure tea, or fish emulsion. Avoid heavy synthetic nitrogen, which burns roots and inhibits fruiting. Keep at least a three-foot mulched, weed-free radius around each trunk using wood chips, straw, or leaves, and mow between rows to hold back invasive perennials. Our guide to the best harvesting tools makes the fall picking season easier once your trees start bearing.
Pruning, Training, and Pest Management
Structural pruning while trees are young sets their form for life, opening the canopy to light and air, removing dead or crossing branches, and keeping the tree low enough to harvest. Learn the basics for your specific fruit through your local extension before you make the first cut. On the pest side, prevention does most of the work: support tree vigor, clean up fallen fruit and leaves, and encourage beneficial insects like ladybugs and lacewings.
When you do need to intervene, lean on Integrated Pest Management. Start with cultural methods like debris cleanup, add physical controls such as traps and barriers, use biological tools like beneficial nematodes, and treat with organic fungicides or insecticides only as a last resort. Scout your trees regularly for early signs of apple scab, fire blight, brown rot, aphids, and borers so you can act before a problem spreads.
Harvesting and Enjoying Your Fruit
After a few years of patience, the payoff is baskets of ripe fruit. Reading ripeness takes practice: apples show a background color change and taste sweet when ready, peaches and plums soften slightly and turn fragrant on the tree, and pears must be picked firm and ripened off the tree. Monitor closely as maturity approaches so you catch each fruit at its peak.

Handle the harvest gently to protect storage life. Cut stems with clean shears rather than tearing, keep thin-skinned fruit in soft-lined containers, and cool the harvest quickly to slow ripening. From there the kitchen options open up: fresh eating, pies and crumbles, pressed cider, canning and freezing, jams and fruit butters, and plenty to share with neighbors.
Start where the biggest risks are: get your site, soil, and variety choices right before you spend money on trees, because those decisions are the hardest to undo. Plant fewer trees than you think you want, care for them closely through the establishment years, and add to the orchard as you learn what your family eats and what your land grows well. Do that and your homestead orchard will reward the patience with decades of fruit, including the treats out of fruit you nurtured from tree that make all the work worthwhile.
Frequently Asked Questions About a Homestead Orchard
How Many Fruit Trees Do You Need for a Homestead Orchard?
For a family of four, five to seven productive trees usually cover fresh eating plus enough for canning and preserving, often two or three apples, a pair of pears, and a couple of stone fruits like peaches or plums. Start smaller than you think you want, since even dwarf trees produce heavily once established. You can always add a few trees each season as you learn what your family eats and what grows well on your land.
How Long Does It Take a Homestead Orchard to Produce Fruit?
Most dwarf and semi-dwarf fruit trees begin bearing two to four years after planting, while standard-size trees can take four to seven years. Rootstock, variety, and how well you handle water and pruning in the early years all shift that timeline. Removing the first year or two of blossoms lets a young tree put its energy into roots and structure, which pays off with heavier crops later.
What Is the Best Fruit Tree for Beginners?
Apples and pears are the most forgiving choices for a first homestead orchard because many varieties are disease resistant, cold hardy, and widely adapted. Choose named disease-resistant apple varieties suited to your zone and pair them with a compatible pollinator. Stone fruits like peaches and plums reward you sooner but need more attention to pests and pruning, so many growers add them once the apples are established.
Do You Need Two Trees to Get Fruit?
Many fruit trees need a second, compatible variety nearby for cross-pollination to set a full crop, including most apples, pears, and plums. A few, such as many peaches, apricots, and sour cherries, are self-fruitful and will bear on their own. Always check the pollination group of each variety before you buy and plant partners that bloom at the same time within a hundred feet or so.