
Knowing how to dry herbs correctly is what separates a productive herb garden from one that produces more than you can use fresh and leaves the rest to bolt or go to waste. The method you choose matters. Air drying preserves essential oils and flavor better than any other technique for most herbs, but it takes one to three weeks and requires the right conditions. Oven drying is faster but requires careful temperature control to avoid baking off the volatile compounds that make herbs worth preserving in the first place. Freezing works best for soft, moisture-rich herbs that lose their texture and much of their flavor when dried. Each method has a place in a well-run homestead kitchen, and matching the right method to the right herb is the skill that makes the difference.
Key Takeaways
When to Harvest Herbs for the Best Flavor
Timing the harvest correctly is the foundation of good herb preservation, and it matters more than the drying method you choose. Essential oil concentration in herb leaves peaks at a specific point in the plant’s growth cycle, and preserving herbs outside that window produces a noticeably inferior result.
For most culinary herbs, harvest just before the plant begins to flower. This is the moment when the plant has invested the maximum amount of energy into producing the aromatic compounds in its leaves and has not yet redirected that energy into seed production. Basil harvested before the first flower buds appear is dramatically more flavorful than basil cut after it has fully bolted. The same applies to oregano, thyme, mint, cilantro, and most other soft-stemmed herbs.
Harvest in the morning after the dew has dried but before the heat of midday. Heat causes volatile oils to evaporate from leaf surfaces throughout the day, which means herbs cut at 2 pm in summer have measurably less aromatic intensity than the same herbs cut at 8 am. This is one of those rules that sounds like gardening folklore but has a straightforward physiological basis.
Cut no more than one third of the plant at a single harvest to allow it to continue growing and producing through the rest of the season. For perennial herbs like rosemary, thyme, and sage, avoid cutting back into woody, leafless stem tissue, which may not regenerate. For annual herbs like basil and cilantro, more aggressive harvesting that removes half or more of the plant at once is acceptable and actually encourages bushier regrowth if done before flowering.

Air Drying: The Best Method for Woody Herbs
Air drying is the oldest herb preservation method and still the best one for herbs with woody stems and low moisture content. It requires no equipment beyond a string or rubber band and a suitable location, and it produces dried herbs with better flavor and more intact essential oils than oven drying at any temperature above the very lowest settings.
The herbs best suited to air drying are those with woody stems and relatively low leaf moisture: rosemary, thyme, oregano, marjoram, sage, lavender, bay, mint, and lemon balm. These herbs dry reliably in most home environments and hold their flavor well through the process.
To air dry herbs, gather stems into small bundles of six to ten stems each. Larger bundles trap moisture in the center and dry unevenly, which encourages mold. Secure the cut ends with a rubber band rather than twine. Rubber bands contract as the stems dry and shrink, keeping the bundle tight. Twine does not contract and bundles secured with it often loosen and fall apart midway through drying.
Hang bundles upside down in a warm, dry location with good airflow. A temperature between 65 and 85 degrees F is ideal. Avoid areas with high humidity such as kitchens near the stove or bathrooms, where moisture in the air significantly slows drying and promotes mold. A spare room, covered porch, barn loft, or any well-ventilated indoor space works well. Direct sunlight fades color and degrades essential oils, so choose a location with bright indirect light or shade rather than a south-facing window with full afternoon sun.
Most woody herbs are fully dry in one to two weeks under good conditions. Thicker-stemmed herbs like rosemary and large sage bundles may take two to three weeks. The herbs are ready when the leaves crumble easily between your fingers and the stems snap cleanly rather than bending. Leaves that still feel pliable or leathery need more time.
For herbs with larger leaves like bay or large-leafed sage, spreading individual leaves on a wire cooling rack or window screen laid flat allows faster, more even drying than bundle hanging. Turn leaves once or twice during the drying period to ensure both surfaces dry fully.

Paper Bag Drying: Catching the Drop
A practical variation on air drying that solves the common problem of leaves dropping as they dry: loosely pack the herb bundle into a paper bag, gather the bag around the stems, and secure with a rubber band so the stems extend from the top and the leaves hang inside the bag. Punch several ventilation holes in the sides of the bag.
As leaves dry and drop from the bundle, they fall into the bag rather than onto the floor. The bag also provides some protection from light and dust during the drying period. This method works particularly well for herbs with small leaves that shed readily as they dry, including thyme, marjoram, and oregano, where losing the leaves means losing the product.
Label the bag with the herb name and harvest date at the start. By the time you open it after two to three weeks, the contents are dried, collected, and ready to strip and store with no cleanup required.
Oven Drying: Faster but Requires Attention
Oven drying is the right choice when air drying is not practical due to humidity, time pressure, or the volume of herbs to process. It produces acceptable results for most herbs when done correctly, but it requires a genuine low temperature and close attention. Most oven drying failures involve temperatures that are too high, which bakes out the essential oils rather than gently evaporating the moisture.
Set the oven to its lowest possible temperature, ideally between 95 and 115 degrees F. Many standard home ovens have a minimum setting of 170 to 200 degrees F, which is too hot for delicate herbs. If your oven does not go below 150 degrees F, prop the door open two to three inches with a wooden spoon to allow heat to escape and keep the effective temperature lower. A thermometer placed on the oven rack gives you an accurate reading of the actual temperature inside.
Spread herb sprigs or individual leaves in a single layer on a parchment-lined baking sheet. Crowding herbs on the sheet traps moisture and causes uneven drying. Use multiple sheets or dry in batches rather than stacking or overlapping. Place the sheet on the middle rack.
Check herbs every 30 minutes and rotate the sheet front to back for even heat exposure. Most soft-leafed herbs like basil and parsley dry in one to two hours at 100 to 115 degrees F. Woody herbs like rosemary and thyme take two to four hours. The herbs are done when they crumble easily between your fingers. Remove the sheet from the oven and allow herbs to cool completely at room temperature before storing. Storing herbs that retain any warmth traps condensation in the jar and causes rapid flavor degradation.
Oven drying is not recommended for basil if flavor retention is the priority. Basil’s essential oils are particularly volatile and degrade quickly at oven temperatures, leaving a product with a fraction of the flavor of air-dried or frozen basil. Freeze basil instead.

Freezing: The Right Method for Soft Herbs
Freezing preserves soft-leafed herbs with far better flavor retention than drying and is the method of choice for basil, parsley, cilantro, chives, tarragon, and dill. These herbs have high moisture content and delicate cell structure that collapses during drying, producing a product with muted flavor and an unappealing dusty texture. Frozen, they retain their bright color and most of their fresh flavor for six to twelve months.
The simplest freezing method is chopping herbs finely, packing them into an ice cube tray, covering with olive oil or water, and freezing solid. Once frozen, transfer the cubes to a labeled freezer bag. Each cube delivers a pre-portioned amount of herb directly into soups, sauces, stir-fries, and sauteed dishes without thawing. Olive oil cubes are particularly versatile because the oil carries flavor into dishes the same way a fresh herb addition does.
For large quantities, blanching before freezing extends storage life and preserves color better than freezing raw. Bring a pot of water to a rolling boil, submerge the herbs for 15 to 30 seconds, immediately transfer to an ice bath to stop cooking, drain thoroughly, pat dry, and pack in small portions in freezer bags with as much air removed as possible. Blanched frozen herbs keep well for up to twelve months and are particularly well suited to parsley and chives.
Basil is the exception to the blanching recommendation. Basil blackens rapidly when blanched due to oxidation of its cell pigments. For basil, blend fresh leaves with just enough olive oil to form a paste, pour into an ice cube tray, freeze, and transfer to a freezer bag. The oil coating protects the basil from oxidation during storage. The result is a frozen basil paste that delivers fresh basil flavor directly into pasta sauces, pestos, and dressings from frozen.
Whole herb sprigs can also be frozen without blanching or chopping. Spread sprigs in a single layer on a parchment-lined sheet pan and freeze until solid, then transfer to a freezer bag. This prevents the sprigs from clumping together and allows you to remove individual sprigs as needed. This method works well for thyme, rosemary, and sage used in slow-cooked dishes where texture is less important than flavor.
Dehydrator Drying: Consistent Results at Scale
A food dehydrator set between 95 and 115 degrees F produces results comparable to air drying in a fraction of the time, typically two to four hours for most herbs, with more consistent results than oven drying because the temperature is precisely controlled and airflow is continuous.
Spread herb sprigs or leaves in a single layer on dehydrator trays with space between pieces for airflow. Run the dehydrator at the lowest herb setting until leaves crumble cleanly. Check trays every hour during the first run with a new herb variety to establish the correct timing for your specific dehydrator model and ambient humidity. Most dehydrators dry herbs adequately in two to four hours at 95 to 105 degrees F, though thicker-stemmed herbs may need an additional hour or two.
A dehydrator is worth the investment for homesteaders who preserve herbs in significant volume each year. The precision and throughput make the process substantially more efficient than oven drying, and the results consistently outperform oven drying in flavor retention.

Storing Dried Herbs Correctly
Proper storage determines how long dried herbs retain their flavor. The two enemies are light and moisture, and the standard glass jar in a sunny kitchen cabinet fails on the light front entirely.
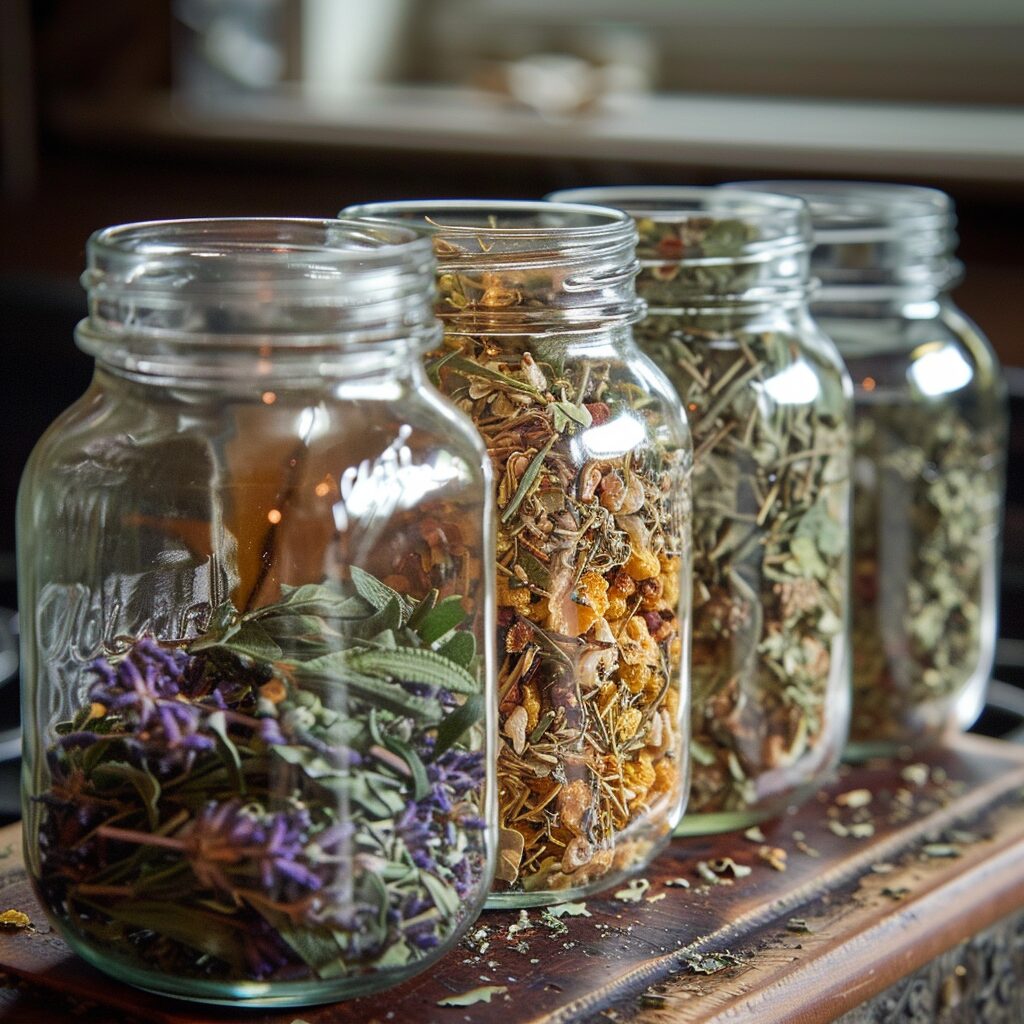
Store dried herbs in airtight glass containers away from light and heat. A dark pantry shelf, a closed cabinet away from the stove, or a dedicated spice drawer all work well. Avoid storing herbs above or beside the stove where heat and steam degrade both flavor and color rapidly.
Strip leaves from woody stems before storing rather than storing whole sprigs. Whole sprigs take up more space, make measuring difficult, and the surface area of loose leaves releases flavor into cooking more readily than compressed stems. Crumble larger leaves like sage and bay slightly when storing to increase surface area without grinding to a fine powder.
Label every jar with the herb name and the harvest or processing date. Dried herbs do not spoil in the way fresh food does, but they lose potency steadily over time. Most dried herbs retain good flavor for twelve months. After that, flavor degrades noticeably, though the herbs remain safe to use. Rub a pinch between your fingers and smell it before using herbs that have been stored for more than a year. If there is little aroma, the flavor contribution to a dish will be minimal.
Do not store multiple herbs in the same jar for convenience. Mixed herb blends are useful, but storing individual herbs separately and blending at the point of use gives you more control over flavor and allows you to use each herb at its own rate rather than depleting a blend unevenly.
Frequently Asked Questions About How to Dry Herbs
What is the fastest way to dry herbs at home?
A food dehydrator set between 95 and 105 degrees F dries most herbs in two to four hours. An oven set to its lowest temperature with the door propped open achieves similar results in one to three hours. Both methods are significantly faster than air drying but require attention to temperature to avoid degrading the essential oils that give herbs their flavor.
Can you dry herbs in the microwave?
Yes, with care. Spread a small handful of herbs between two paper towels and microwave on low power in 30-second intervals, checking after each interval. Most herbs are dry in two to four minutes total. The microwave method works well for small quantities when you need dried herbs quickly, but it is inconsistent for larger volumes and easy to overdo, which results in herbs that taste dusty and flat rather than aromatic.
How do you know when herbs are fully dry?
Fully dried herbs crumble easily between your fingers and produce a concentrated aroma when rubbed. Stems snap cleanly rather than bending. Leaves that still feel pliable, leathery, or cool to the touch retain moisture and are not ready to store. Sealing herbs that are not fully dry causes condensation inside the jar, which leads to mold and flavor loss within days.
Why do my dried herbs have no flavor?
The three most common causes are harvesting too late in the season after the plant has flowered and redirected energy to seed production, drying at too high a temperature which evaporates volatile oils along with the moisture, and storing in a location with too much light or heat which degrades flavor over time. Start with herbs harvested at peak, dry gently at the lowest effective temperature, and store in a dark cool location.
Can you freeze herbs without blanching?
Yes. Many herbs freeze well without blanching, particularly those destined for cooked dishes where texture is less important. Spread sprigs on a sheet pan, freeze until solid, then transfer to a freezer bag. Chives, thyme, rosemary, and sage all freeze well this way. Blanching before freezing improves color retention and extends storage life but is not strictly necessary for herbs used within six months.
A well-stocked herb shelf stocked from your own garden is one of the more satisfying results of a productive growing season. The work of drying, freezing, and storing correctly takes an afternoon at most, and the return is months of better-flavored cooking from herbs you grew and preserved yourself. Match the method to the herb, harvest at the right moment, and store carefully, and what you put up in July will still be worth using the following spring.
For more on getting the most from your herb garden through the growing season, see our guide to the best herbs for beginners and our feature on growing fresh herbs indoors through winter.