
How to raise baby chicks starts with a warm, dry brooder, clean water, the right starter feed, and a habit of watching the chicks more closely than the thermometer. During the first several weeks, their behavior tells you whether they are comfortable, hungry, crowded, chilled, or ready for more room. By the time they move to the coop, they should be fully feathered, gradually acclimated to outdoor temperatures, and large enough to live safely in their new setup.
Baby chicks grow so quickly that the brooder you prepare for arrival day will not stay the same for long. Feeders get raised, heat gets reduced, space expands, and tiny birds that once slept under a heat plate begin testing their wings against the lid. The work is not difficult, but it rewards consistency. A few minutes of observation every morning and evening will catch most problems while they are still small.
Key Takeaways
Set Up the Brooder Before the Chicks Arrive
Prepare the brooder at least a day before the chicks come home. Penn State Extension recommends cleaning and disinfecting the equipment and setting it up at least 48 hours ahead. That gives you time to confirm that the heat source works, the water stays upright, and the brooder has both a warm zone and a cooler place where chicks can move away from the heat.
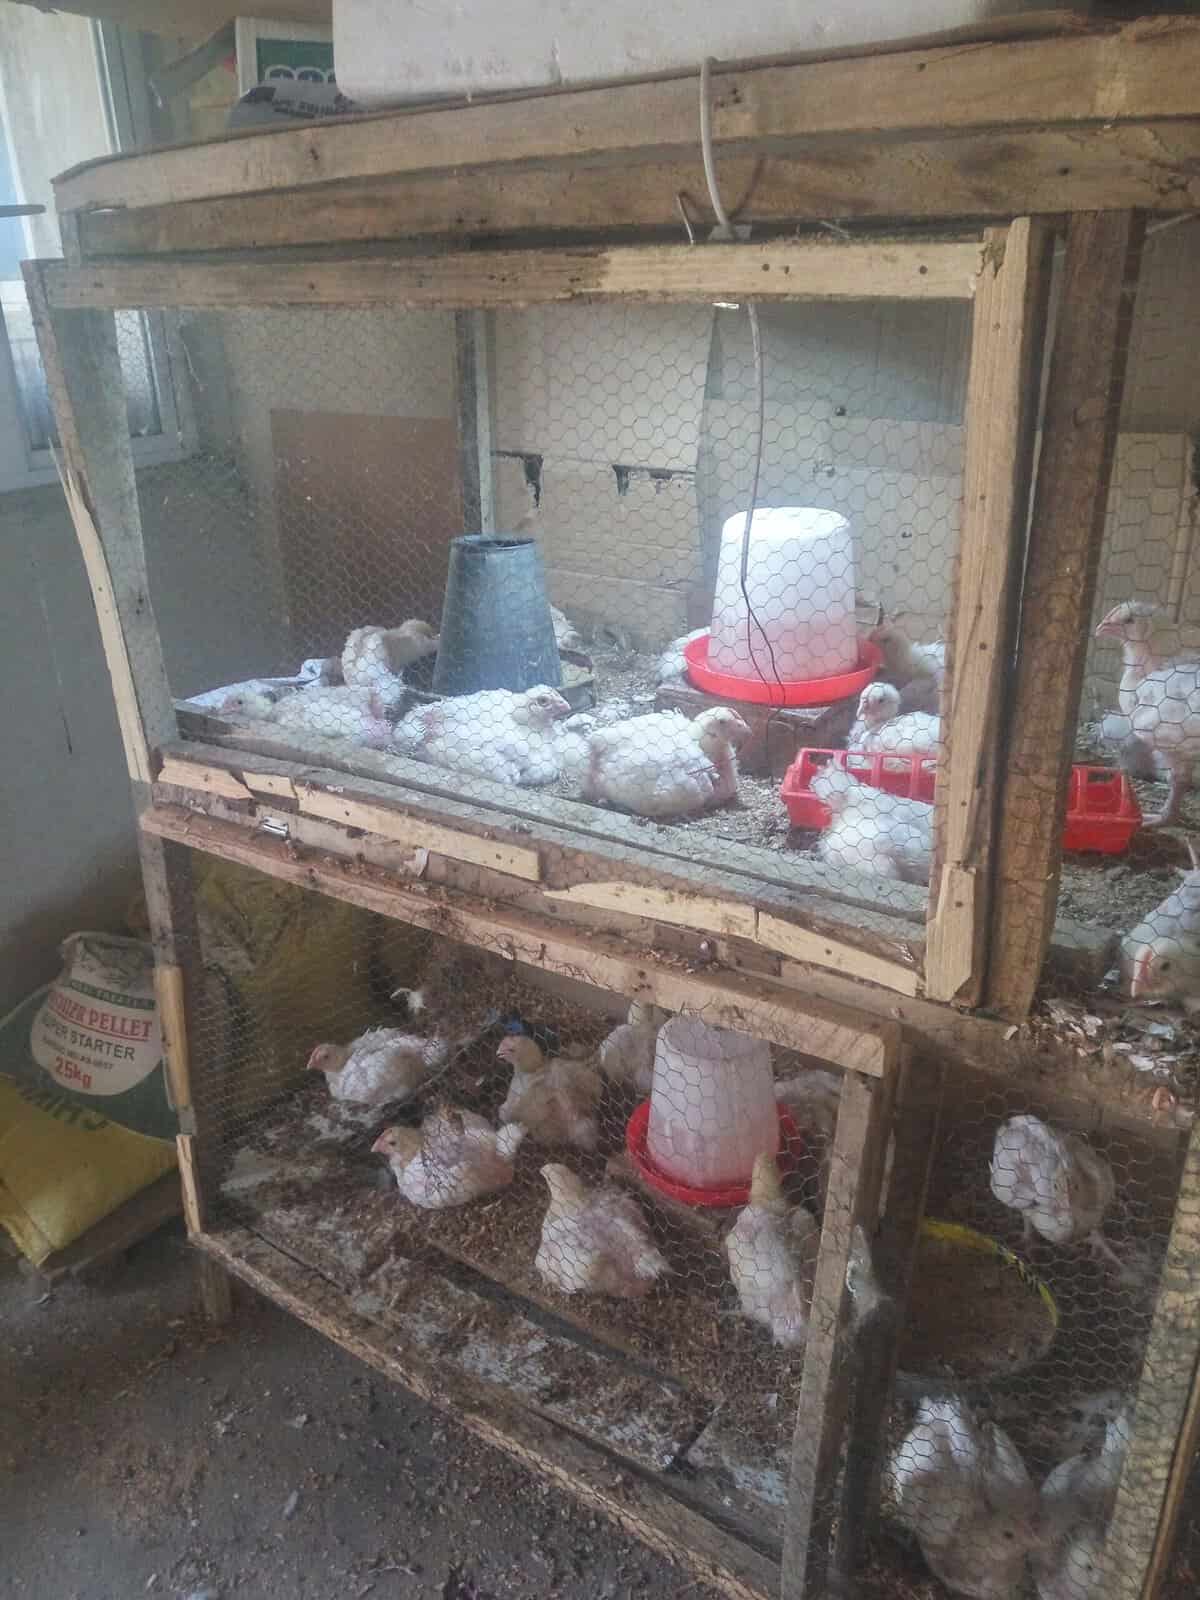
A large plastic stock tank, galvanized trough, sturdy wooden box, or purpose-built brooder can work. It needs solid walls that stop drafts, enough floor space to prevent piling, ventilation above chick level, and a secure cover once the birds begin hopping and flying. Avoid smooth newspaper as the walking surface because poor footing can contribute to leg problems. Paper towels over the bedding work well for the first day or two, then pine shavings provide traction and absorb moisture.
Put the heat source at one end instead of warming the entire brooder evenly. A brooder plate is generally easier to manage and carries less fire risk than a hanging heat lamp. If you use a lamp, secure it with a chain or wire that does not depend on the clamp, keep it away from bedding and walls, and follow the manufacturer’s clearance instructions.
Have chick starter, a shallow chick feeder, and a stable waterer ready. Marbles or clean pebbles in an open water dish can reduce drowning risk, although a chick waterer is easier to keep safe. If you are still making the larger decisions about breeds, housing, and flock size, begin with our plan for starting a backyard flock before bringing the birds home.
Week One: Heat, Water, Feed, and Sleep
For the first week, aim for roughly 90 to 95°F at chick height near the edge of the heated area. University of Minnesota Extension recommends reducing brooder temperature about 5°F each week, but the chicks themselves should make the final call.
Comfortable chicks spread around the brooder, eat, drink, explore, and sleep in loose groups. Chicks packed tightly beneath the heat are cold. Chicks pressed against the outer walls, panting, or avoiding the warm side are too hot. A loud, persistent distress peep also deserves attention. Adjust the heat gradually and watch what the group does over the next several minutes.
When the chicks arrive, gently dip the tip of each beak into the water so they learn where it is. Do not push the head under. Once a few begin drinking, the rest usually follow. Check the water several times during the first day because excited chicks can fill it with bedding quickly.
Feed a complete chick starter formulated for their age. Layer feed contains more calcium than growing chicks need and should wait until the birds approach laying age. Starter provides the protein, vitamins, and minerals required for rapid early growth. Keep it available free choice rather than trying to schedule meals.
Expect a lot of sleep. Chicks may race around for ten minutes and then collapse in a heap as though someone flipped a switch. That is normal. What is not normal is a chick that remains apart from the group, cannot stand, refuses food and water, breathes with effort, or stays fluffed and unresponsive.
Check for Pasty Butt
Pasty butt happens when droppings stick over the vent and block the chick from passing waste. It can become dangerous quickly. Check each chick at least once a day during the first week, especially after shipping or another stressful move.
If droppings are stuck, soften them with warm water and gently work them loose. Do not pull dried material from the down because it can tear the skin. Dry the chick completely before returning it to the brooder so it does not become chilled.
Weeks Two and Three: More Space and Less Heat
By the second week, the chicks are taller, faster, and far more interested in testing the brooder walls. Wing feathers appear first, followed by feathers along the back, chest, and tail. Increase their floor space before crowding causes damp litter, pecking, or a feeder that weaker chicks cannot reach.
Continue lowering the heat in small steps, usually about 5°F per week. Do not remove it solely because the calendar says you should. A drafty garage during a cold spell is different from a protected brooder during warm weather. Watch where the birds sleep and how they behave after each adjustment.
Raise the feeder and waterer so the rim stays near the chicks’ backs. This reduces spilled feed and bedding kicked into the water. Make sure the smallest chick can still reach both comfortably. Wet bedding should be removed as soon as you find it because moisture chills chicks and allows odors and disease organisms to build.
This is also a good time for short, gentle handling sessions. Scoop a chick with both hands instead of grabbing from above, which can trigger a predator response. Sit close to the floor in case it jumps. A minute or two of calm handling is enough. The goal is to make routine health checks easier, not to pass every chick around the room.
Weeks Four and Five: Feathers, Short Outdoor Visits, and New Skills
Around weeks four and five, many chicks can spend brief periods outside when the weather is warm, dry, and calm. Use a covered, predator-proof pen and supervise them. Ten or fifteen minutes of sunshine, scratching, and exploring is plenty at first. Bring them back inside before they become chilled.
Outdoor time helps chicks practice flock behavior and become familiar with the sights and sounds around the coop. It is not a substitute for careful acclimation. A fully feathered chick may tolerate a mild afternoon but still struggle with a cold night, rain, or strong wind.
If chicks receive anything besides complete starter feed, such as greens, insects, or small treats, provide chick-sized grit. Grit allows the gizzard to grind foods that starter crumble does not require. Keep treats modest so they do not displace balanced nutrition. Our master list of safe and unsafe foods for chickens is useful later, but starter should remain the main diet during this growing stage.
You can also introduce a shallow dust bath containing dry soil or sand. Expect chaos. Chicks may peck it, fling it over each other, and fall asleep in it before they understand its purpose.
Weeks Six Through Eight: When Can Chicks Move to the Coop?
Most chicks can move to the coop between six and eight weeks old, but feathering, weather, breed, and housing matter more than a birthday. The birds should be fully feathered across the body, no longer dependent on supplemental heat, and able to handle the forecasted nighttime temperature.
Reduce heat gradually before the move. If chicks have slept comfortably for several nights without using the heat source, that is better evidence of readiness than simply turning six weeks old. Give them several daytime visits to the coop so the new flooring, feeder, waterer, and sounds are familiar.
The coop must be dry, ventilated, and predator resistant before the chicks move in. Hardware cloth should cover openings, doors should latch securely, and gaps should be checked at chick level. A gap that would not concern you with an adult hen can be an escape route or predator access point for a smaller bird. Our guide to housing baby chicks and ducklings safely offers more setup ideas.
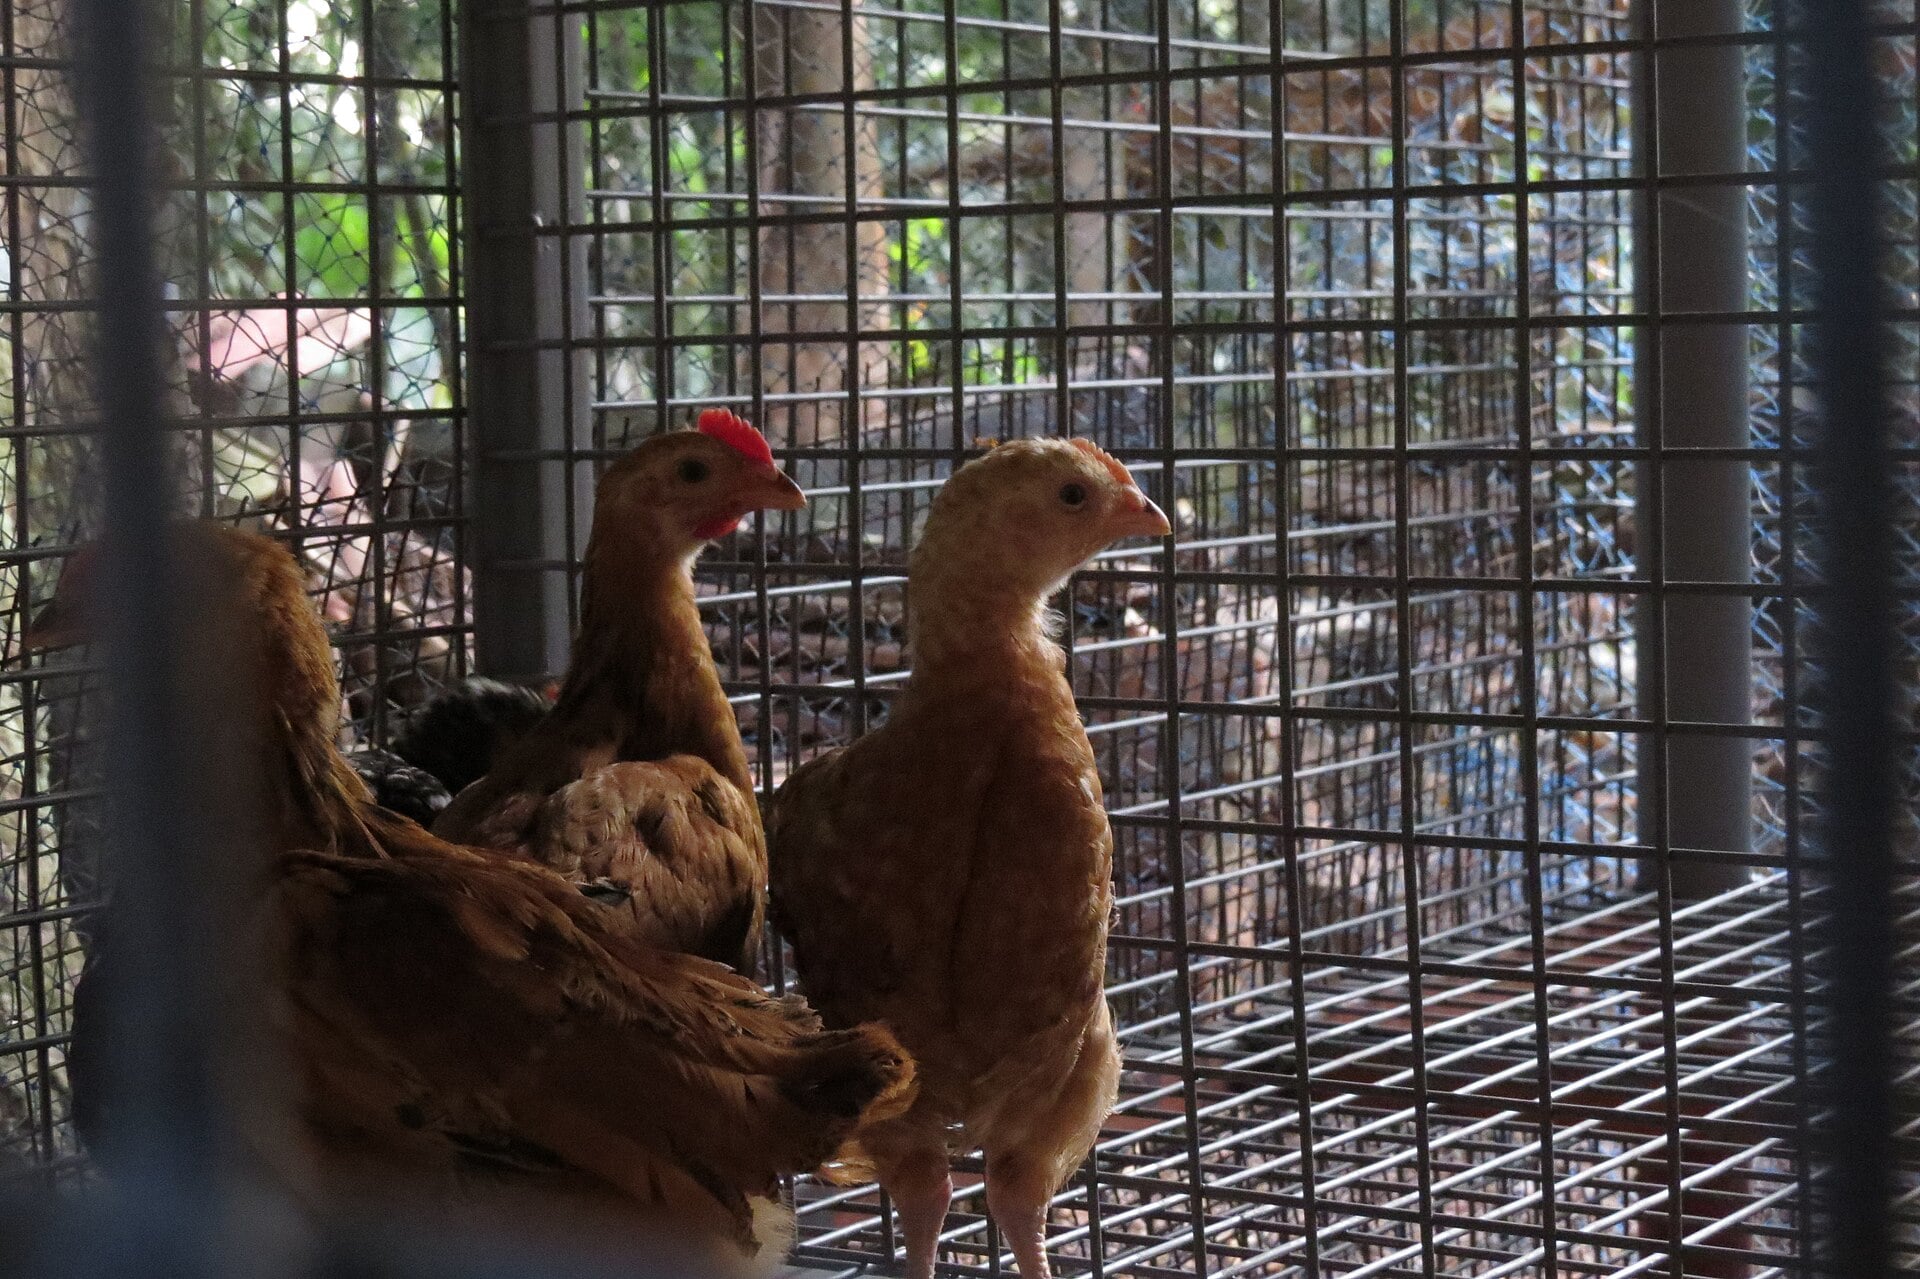
If the chicks are moving into an empty coop, the transition is fairly simple. Keep them confined to the coop and secure run long enough to recognize it as home before allowing wider ranging. Continue checking them after dark for the first several nights. Young birds sometimes pile in a corner instead of using the roosts.
Can Baby Chicks Join Adult Chickens?
Do not place small chicks directly into an established adult flock. Adult hens can injure or kill young birds while enforcing the pecking order. Wait until the younger birds are closer to adult size, then begin with a see-but-do-not-touch introduction through fencing.
Place the younger group in an adjacent pen or divided section of the run for at least several days. Give both groups separate feed and water. When they can share space without constant charging at the barrier, try supervised time together in a roomy area with multiple escape routes.
New birds can also introduce disease. USDA’s Defend the Flock program emphasizes controlling contact, equipment, people, wild birds, and other routes that can carry disease into a flock. Birds from a different source should be quarantined before they share airspace or equipment with the established flock.
Keep the Brooder Clean Without Making It Sterile
A clean brooder is dry, well ventilated, and free of accumulated droppings. It does not need to smell like disinfectant. Remove wet spots daily, refresh bedding as needed, and wash the waterer whenever a film develops. Empty and clean feeders instead of continually pouring fresh feed over old, damp crumbs.
Keep chick equipment out of the kitchen. The CDC explains that healthy-looking backyard poultry can carry Salmonella. Wash hands with soap and water after touching chicks, bedding, feeders, waterers, or anything in their area. Do not kiss or snuggle chicks, and do not eat or drink around the brooder. Children younger than five should not handle chicks.
Shoes and supplies used around poultry should stay outside household living areas whenever possible. These routines protect people, but they also create the kind of biosecurity habits that protect the flock later.
Watch for Signs a Chick Needs Help
A healthy chick is alert when awake, moves with the group, eats and drinks, and has clean eyes and nostrils. Call a poultry veterinarian or your extension office when a chick is struggling to breathe, cannot stand, has persistent diarrhea, develops swelling around the eyes, stops eating and drinking, or when several chicks become sick at once.
Isolation can protect the rest of the brooder and make monitoring easier, but a sick chick still needs appropriate warmth and companionship within sight or sound of the group. Do not begin random antibiotics or home remedies without understanding the cause. Symptoms that look similar can come from nutrition, temperature, injury, parasites, or infectious disease.
Before bringing chicks home, review your hatchery’s vaccination information and our backyard chicken vaccination schedule. Vaccination decisions depend on hatchery practices, local disease pressure, and how the flock will be managed. Learning the broader signs in our guide to common chicken diseases will also help you recognize when something falls outside normal chick behavior.
Common Mistakes When Raising Baby Chicks
The most common mistakes are usually simple ones:
- Heating the whole brooder instead of providing warm and cool zones
- Trusting the thermometer while ignoring chick behavior
- Using an unsecured heat lamp near combustible bedding
- Allowing water to soak the litter
- Feeding layer ration or too many treats
- Forgetting grit after introducing foods besides starter
- Moving chicks outdoors before they are feathered and acclimated
- Adding small chicks directly to an adult flock
- Keeping poultry equipment in the kitchen or household living space
You do not need a picture-perfect brooder. You need one that stays warm without trapping heat, remains dry, gives every chick access to feed and water, and changes as the birds grow.
Raising chicks compresses an astonishing amount of growth into a few weeks. The chick that fits in one hand on arrival day will soon be dust bathing, flapping onto the brooder rim, and complaining because the morning feeder is three minutes late. Keep watching the birds in front of you, make adjustments before discomfort becomes illness, and have the coop ready before they outgrow the brooder.
Frequently Asked Questions About How to Raise Baby Chicks
What temperature do baby chicks need?
Baby chicks generally need a warm area of about 90 to 95°F during the first week. Reduce the temperature about 5°F each week while watching their behavior. Chicks crowding under the heat are cold, while chicks avoiding it or panting are too hot.
How long do baby chicks need a heat lamp or brooder plate?
Most chicks need supplemental heat for four to six weeks, though weather and feather development matter more than the calendar. Remove heat gradually after the chicks are well feathered and consistently sleep away from the warm area.
When can baby chicks go outside?
Baby chicks can take short, supervised outdoor trips around four weeks old when conditions are warm, dry, and calm. Permanent coop living usually begins between six and eight weeks, once chicks are fully feathered and acclimated to nighttime temperatures.
What should baby chicks eat?
Baby chicks should eat a complete chick starter feed with clean water available at all times. If you offer treats or greens, keep them limited and provide chick-sized grit so the birds can grind those foods properly.
Can six-week-old chicks live with adult chickens?
Six-week-old chicks are usually too small to live directly with adult chickens. Keep the groups separated by fencing until the younger birds approach adult size, then introduce them gradually with multiple feeders, waterers, and escape routes.