
Learning how to make butter from raw milk is the moment a family cow starts genuinely paying you back. A single Jersey outproduces any household by a wide margin, and butter is the most useful, most storable, and most satisfying thing to do with the surplus. It takes no special equipment, the process is forgiving, and the result is meaningfully better than anything you can buy.
If you have not yet worked out what to do with the sheer volume, our guide to how much milk a cow produces a day covers the scale of the problem, and it is larger than most people expect.
What You’ll Learn
Separating the Cream
Everything starts with getting cream off the milk, and raw milk makes this genuinely easy in a way that store milk does not.
Raw milk is not homogenised, so the fat globules stay intact and rise on their own. Put fresh milk in a wide, straight-sided glass jar and refrigerate it undisturbed for 12 to 24 hours. The cream rises and forms a distinct layer at the top, and with a straight-sided jar you can see exactly where the line sits.
Skimming by hand works fine at homestead scale. A ladle, a small measuring cup, or a turkey baster all work. A wide shallow bowl and patience work too. You will not get every bit of fat and that is fine.
A cream separator is the mechanical option, a centrifugal device that pulls cream and skim apart continuously and far more completely. It is worth the cost only if you are processing a lot of milk regularly. For a single family cow, hand skimming is usually the sensible answer.
Breed matters here more than at any other point in the process. A Jersey or Guernsey throws a thick, obvious cream line, while a lower-butterfat breed gives you a thinner one for the same volume of milk. Our guide to dairy cow breeds covers the butterfat differences and what they mean for exactly this kind of kitchen work.
Getting the Cream Right Before You Churn
This is the step that separates reliable butter from frustrating batches, and it comes down to two variables.
Fat content. The Wisconsin Center for Dairy Research states that milkfat content for churning should sit in the range of 35 to 40 percent, and that values outside that range hurt yield efficiency. Cream skimmed off raw milk usually lands in that neighborhood or somewhat below. Cream that is too thin churns slowly and gives poor yield; cream that is extremely thick can turn to butter almost too fast to control.
Age and temperature. Cream that has been refrigerated for a couple of days churns better than cream skimmed an hour ago, and CDR describes a tempering process for cream ideally over 18 to 24 hours with gradual cooling. At homestead scale, the practical translation is to let your skimmed cream sit in the fridge for a day or two before churning.
Then, crucially, let it warm slightly before you churn. Cream straight from the fridge is too cold and the fat will not coalesce readily. Cream that is too warm produces greasy, soft butter that is hard to work. Somewhere in the cool room temperature range is the target, and if a batch refuses to break after a long churn, temperature is almost always the reason.
How to Make Butter From Raw Milk, Step by Step
Step 1: Fill the Jar No More Than Half Full
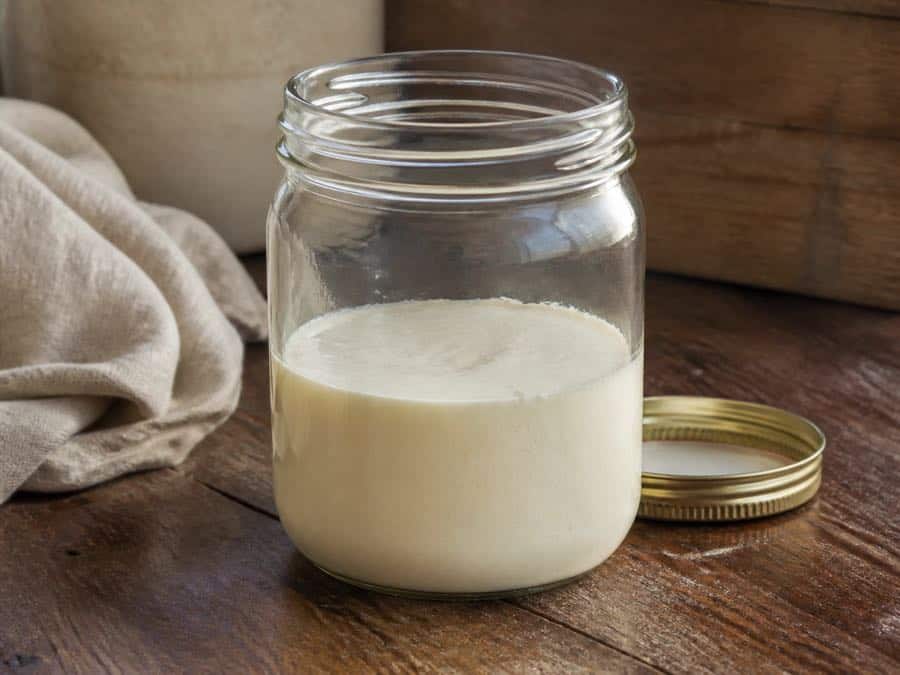
Whether you use a stand mixer, food processor, jar, or proper churn, fill the container no more than halfway. The cream needs room to move and collide. A jar filled to the top will barely agitate, no matter how hard you shake it.
Step 2: Agitate the Cream
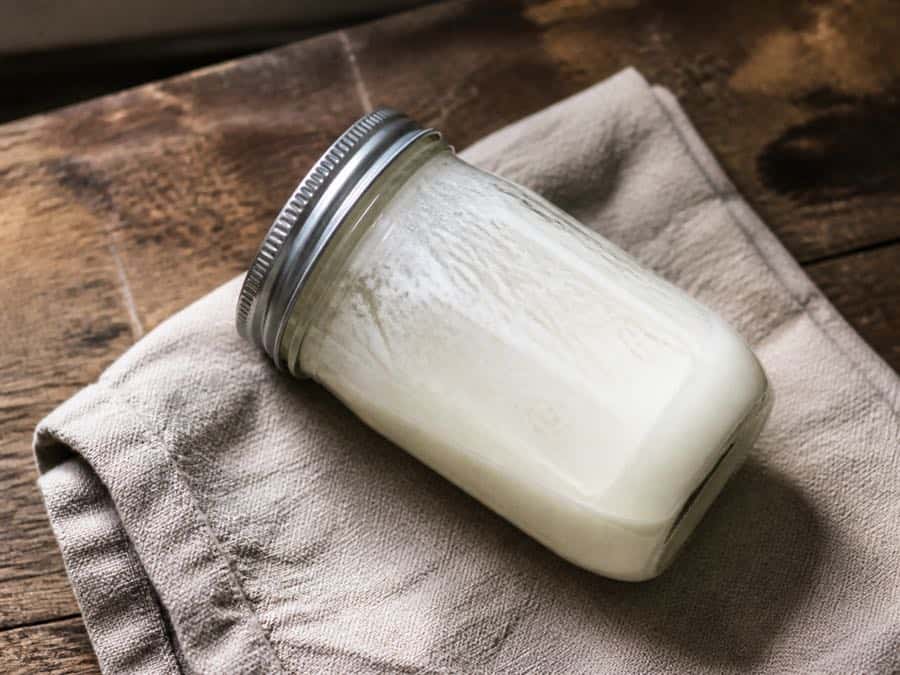
Seal the jar tightly and shake it steadily. This takes real effort and usually 15 to 25 minutes, but it is also the clearest way to feel the cream change. If you use a stand mixer, fit the whisk and start slowly. If you use a food processor, use the blade. Cover the mixer bowl with a clean towel or splash guard because the liquid can spray when the butter breaks.
Step 3: Watch for the Butter to Break
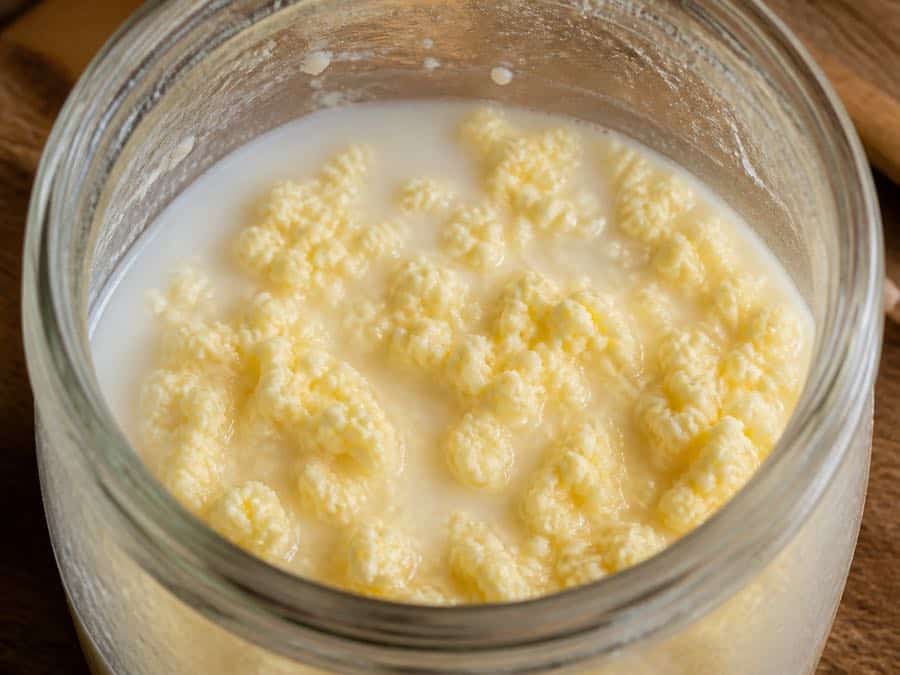
The cream first thickens to soft peaks, then stiff whipped cream. Keep going. It will look grainy and slightly yellow before suddenly separating into pale yellow butter granules and thin liquid. That change is the phase inversion CDR describes. The fat globules join together, releasing the buttermilk around them.
Step 4: Drain and Save the Buttermilk
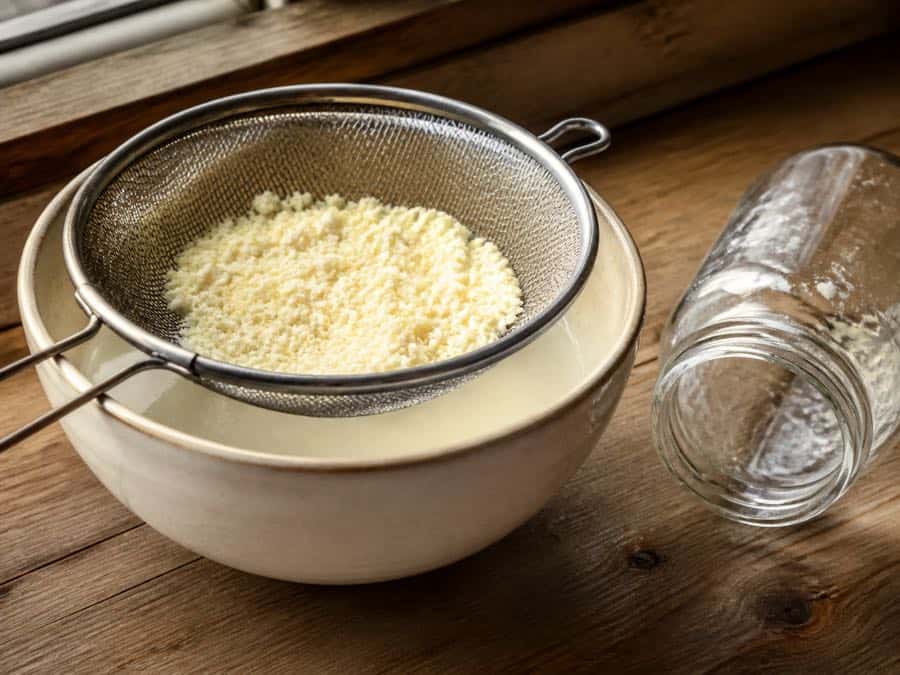
Set a fine mesh sieve over a bowl, then pour in the butter and liquid. The butter granules stay in the sieve while the buttermilk drains into the bowl. Keep that liquid. It is traditional sweet buttermilk rather than the cultured product sold in stores, and it is useful in pancakes, biscuits, soda bread, marinades, and other recipes.
Step 5: Wash the Butter Until the Water Runs Clear
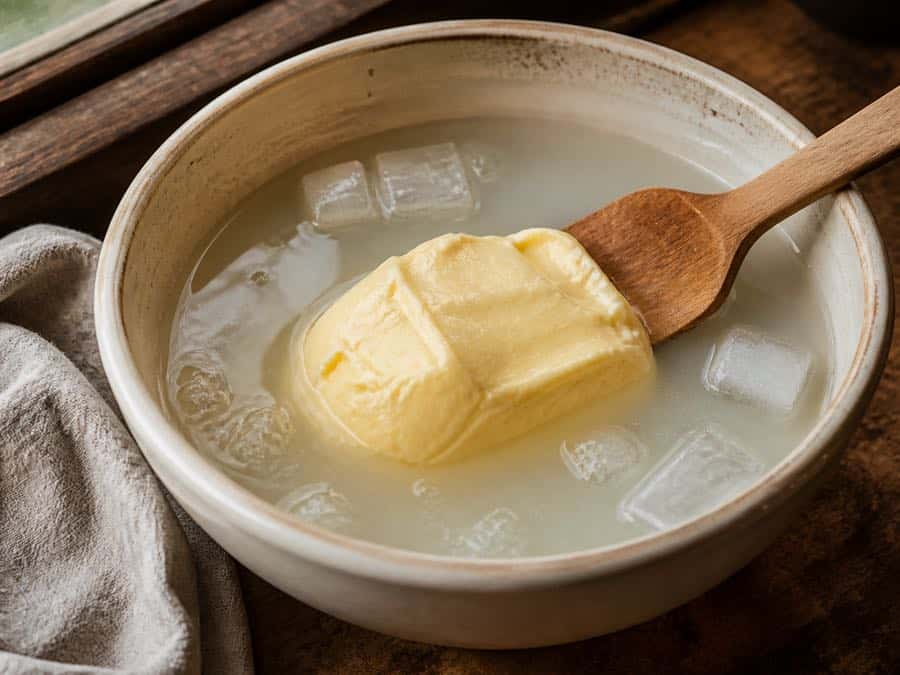
Put the butter granules in a bowl of very cold water. Press and fold them with a butter paddle, spatula, or clean hands, then pour off the cloudy water. Add fresh cold water and repeat until the water stays clear. Do not stop when it is merely less cloudy. Residual buttermilk shortens the butter’s shelf life and can make it develop an off flavor within days.
Step 6: Work Out the Water and Add Salt
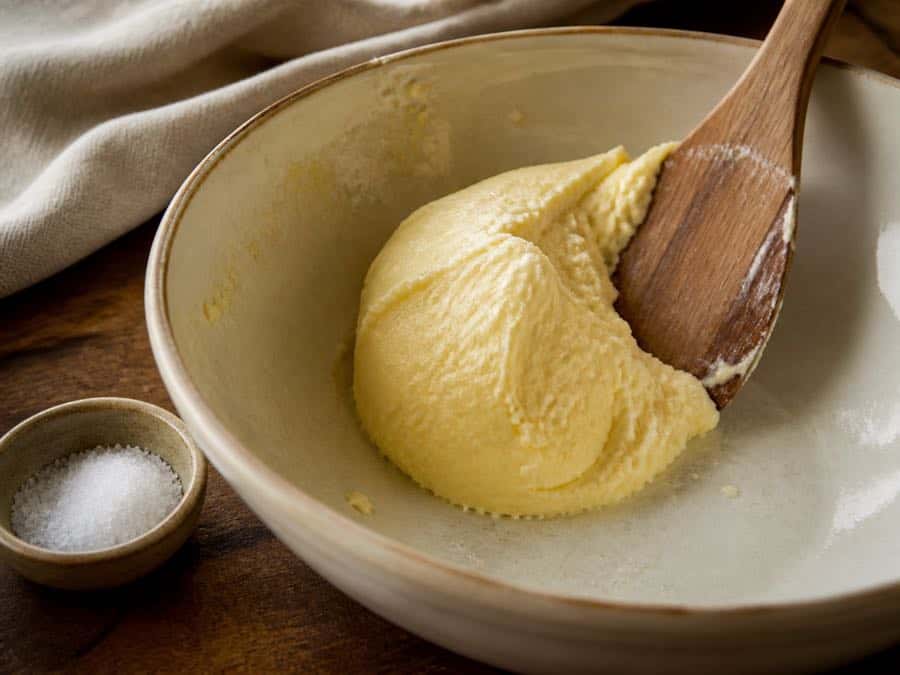
Press and fold the washed butter against the side of the bowl to squeeze out trapped water. Pour away each small puddle as it appears. For salted butter, add fine salt to taste and work it in evenly. About 1 percent of the butter’s weight is a useful starting point, which is roughly 1 gram of salt per 100 grams of butter.
Step 7: Shape and Store the Butter
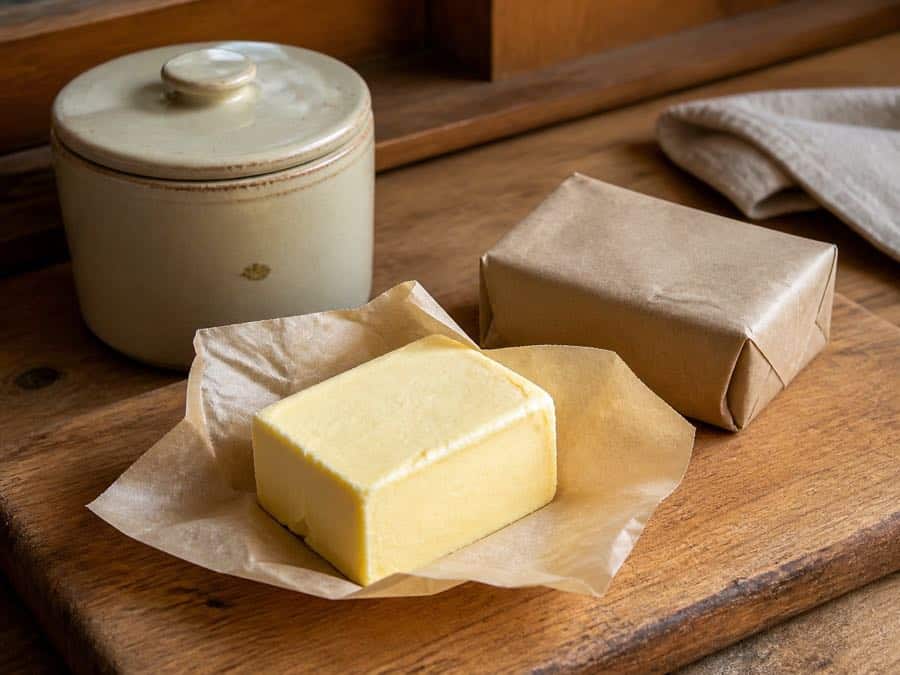
Shape the finished butter into a block and wrap it snugly in parchment, or press it into a clean crock with a tight lid. Refrigerate the amount you will use soon. Wrap the rest well and freeze it. Butter freezes extremely well, which makes it one of the best ways to save a summer milk surplus for winter.
Cultured Butter: The Upgrade Worth Making
If you want butter that tastes like the expensive European kind, culture the cream before churning.
Add a spoonful of live cultured buttermilk or a mesophilic culture to your cream, leave it at cool room temperature for roughly 12 to 24 hours until it thickens slightly and smells pleasantly tangy, then chill it and churn as normal.
The bacteria produce diacetyl, which is the compound responsible for that deep, complex butter flavour. It is one extra step and one extra day for a genuinely large difference in the result, and once you have made it you will find it hard to go back.
What Else to Do With the Cream
Butter is not the only answer, and some of these are less work.
Heavy cream straight off the top, for coffee, whipping, and cooking. The simplest possible use and often the best.
Sour cream and crème fraîche, made by culturing cream and leaving it to thicken at room temperature. Crème fraîche in particular is trivially easy and holds up to heat far better than commercial sour cream.
Ice cream, which a high-butterfat cream makes exceptionally well.
Ghee, made by simmering butter until the water evaporates and the milk solids brown and settle out. Ghee is shelf stable without refrigeration and has a high smoke point, which makes it genuinely useful.
Cream cheese and soft cheeses, for cream you have combined back with milk.
And for the volume you cannot process at all, our guide to freezing milk covers how to bank it without wrecking the texture.
Troubleshooting
The cream will not break. Almost always temperature. Too cold is more common than too warm. Let it come up slightly and keep going.
The butter is greasy and soft. Cream was too warm. Chill everything, including the bowl, and work the butter in cold water.
Poor yield. Cream was too thin. Let the milk sit longer before skimming, or accept that a lower-butterfat animal simply gives you less.
It went rancid quickly. Under-washed. Buttermilk left in the butter is the culprit almost every time, so wash until the water runs genuinely clear rather than nearly clear.
It tastes off from the start. This traces back to the milk rather than the butter, and usually to milking hygiene or storage. Our guide to milking a cow covers the routine that keeps milk clean from the start, which is where good butter actually begins.
Frequently Asked Questions
How do you make butter from raw milk?
Let raw milk sit refrigerated for 12 to 24 hours so the cream rises, skim it off, chill it a day or two, then let it warm slightly and churn it until it separates into yellow granules and thin buttermilk. Drain the buttermilk, wash the butter in cold water until the water runs clear, work out the remaining moisture, salt to taste, and store.
How much cream do you need to make butter?
The Wisconsin Center for Dairy Research puts the ideal milkfat content for churning at 35 to 40 percent, and values outside that range reduce yield efficiency. Cream skimmed from raw milk usually lands near that range. Thin cream churns slowly and yields poorly.
Why won’t my cream turn into butter?
Temperature, almost always, and too cold far more often than too warm. Cream straight from the fridge will not let the fat coalesce properly. Let it come up toward cool room temperature and keep churning.
Why does my homemade butter go bad quickly?
It was not washed thoroughly enough. Any buttermilk left in the butter is where it turns rancid, often within days. Wash with cold water repeatedly, working the butter as you go, until the water runs genuinely clear rather than nearly clear.
What is cultured butter and how do you make it?
Butter made from cream that was cultured before churning. Add a spoonful of live cultured buttermilk or a mesophilic culture to your cream, hold it at cool room temperature for 12 to 24 hours until it thickens and smells tangy, then chill and churn. The bacteria produce diacetyl, which gives that deep European-style butter flavour.
How much fat is in real butter?
By federal definition, not less than 80 percent milkfat by weight. Typical composition is 80 to 82 percent fat, 16 to 17.5 percent water, about 1.5 percent salt, and roughly 1 percent milk solids.
What can you do with the leftover buttermilk?
Keep it. Real buttermilk from churning is not the cultured product sold in shops, and it is excellent in pancakes, biscuits, and soda bread. Do not pour it away.