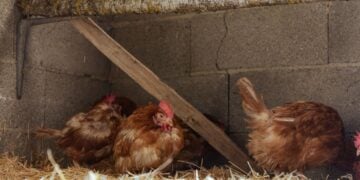

The deep litter method for chicken coops sounds wonderfully simple: add bedding, turn it now and then, and skip the weekly cleanout. In a dry, well ventilated coop, it can reduce the number of full cleanouts and turn daily care into a lighter routine. In a damp coop, the same idea can become a heavy, sour pack that is harder to remove than ordinary bedding.
The difference is management. Deep litter still needs dry material, regular checks beneath the surface, and quick action around leaking waterers, wet doorways, and manure buildup. It also needs enough floor depth and door clearance to hold an increasing layer without blocking access.
This guide walks through the setup, the weekly feel and smell checks, and the point when adding one more forkful of clean bedding stops helping.
Does your coop have room for deep litter?
Look at the building before buying another bale of bedding. A roof leak, damp floor, or doorway that already scrapes the litter will become harder to manage as the layer rises. Fix water entry first, including runoff that reaches a ground-level floor.
A raised wooden coop may have enough room and access for accumulating bedding; a shallow pullout tray may be much easier to empty regularly. Check whether you can inspect the floor beneath the bedding and remove material without dismantling half the building.
Open the chicken door and the human access door. Picture the floor several bedding additions higher. Birds still need usable openings and clearance beneath roosts, and low vents must remain unobstructed. You also need space to get a shovel into corners and carry the eventual load out.
Keep ventilation above the roosting birds while preventing a direct cold draft across them. Our guide to winterizing the chicken coop connects those ventilation checks with weatherproofing and water management. Covering vents to keep a deep pack warm defeats the moisture control the pack needs.
Deep litter suits a keeper willing to inspect and adjust it frequently. If you prefer removing a small amount of bedding often, or your coop gives you little working space, choose that routine instead. Fewer large cleanouts also mean an eventual larger load to shovel and move.
Setting up the deep litter method for chicken coops
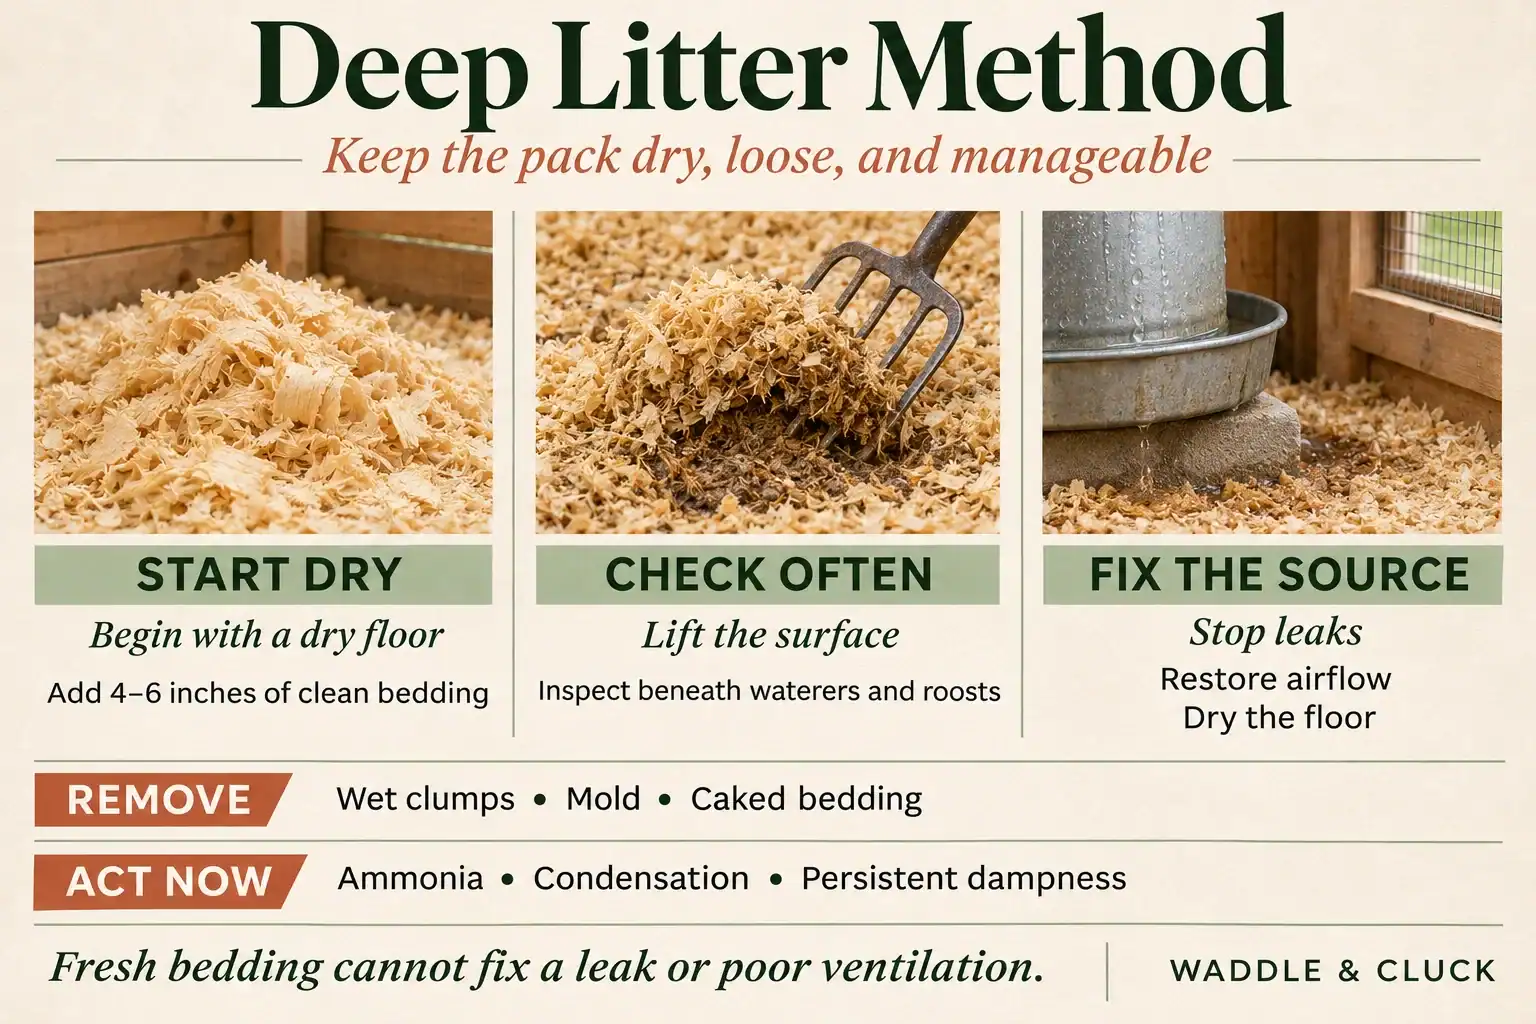
Use a clean, dry floor as your starting point. An existing soggy layer needs removal, not a fresh covering. Inspect the exposed surface for leaks and dampness before putting bedding back.
Choose clean, dry, absorbent material with a known origin. Pine shavings are one practical option. Straw can work, but watch for matting: University of Georgia Extension identifies a tendency toward caking in chopped straw and hay. Free workshop shavings or landscape material need scrutiny for treatments, residues, and unknown ingredients.
For a starting-depth example, University of Minnesota Extension’s cold-weather chicken guidance describes 4 to 6 inches of straw or shavings. That is an initial bedding layer for its winter-management option, not a required final depth or a safety guarantee. The guidance pairs deep bedding with stirring, fresh additions, and a spring cleanout.
Set up the floor in this order:
1. Repair water entry and let the floor dry before spreading the starting layer. 2. Check the waterer for drips and spills. Use a stable stand where appropriate, with water accessible to the flock and the container clear of scratched-up litter. 3. Spread the bedding loosely rather than packing it down. Confirm that doors open and the chickens can use the entrance. 4. Keep replacement bedding dry and close enough that spot replacement is practical during ordinary chores.
As the layer grows, check clearances again. There is no reason to chase an impressive depth if it blocks a doorway or makes the floor difficult to inspect. A retaining board may keep shavings inside, but it cannot create headroom or cleaning access.
Check below the fresh-looking surface
While checking feed and water each day, inspect beneath the drinker, the favorite roost, and the less-traveled corners. Lift a little litter with a tool to see what the surface conceals. A dry sprinkle on top can hide a wet clump underneath.
Loose bedding should remain workable rather than forming a soggy mat. University of Georgia Extension’s guidance on litter quality describes a squeezed handful that stays tightly balled as a warning of excess moisture. With gloves, that rough check can help you notice a problem; it does not measure moisture precisely or establish that litter is free of pathogens.
The Georgia bulletin addresses commercial broilers. Its general lessons about absorption, water leaks, caking, and dust are useful here, but its production figures and house-management settings are not backyard-coop targets.
Stir loose, soiled bedding as needed and add clean dry material when surface soiling builds. Keep wet, caked, or moldy patches out of that mixing. Remove those portions instead of spreading their contents through the rest of the pack.
Chickens scratching through the bedding may help loosen it. They will not reliably work every corner or clean the heavily used strip under a roost. You remain responsible for the places they miss.
Nest boxes need a separate routine. Replace nesting material when it becomes soiled, sparse, or broken down rather than treating the boxes as another accumulating manure layer. Wear gloves for litter handling, keep coop tools away from food-preparation areas, and wash your hands after chores.
Follow the wet patch to its source
Wetness around the waterer
A damp ring or clump under a drinker calls for a waterer check before another bedding addition. Look for a slow drip, an unstable base, or water sloshing onto the floor when birds use it.
Stop the leak or spill, remove the affected bedding, and let the underlying surface dry before replacing it. Check the same place at the next chores. Georgia Extension specifically recommends prompt removal and replacement after leaks or spills; burying the patch leaves the moisture behind.
If that spot repeatedly fails, reconsider the waterer’s position and support. Recurring wetness needs another correction to the water setup, even if the rest of the pack looks dry.
A wet doorway or damp outside edge
Wetness concentrated near the entrance suggests a different inspection. Check whether roof runoff lands at the threshold, rain blows through the opening, or the adjoining run channels water toward the coop.
Our chicken run drainage and layout guide explains grading and gutters as ways to move rain away. Correct the route the water takes, then remove and replace affected litter. More shavings inside cannot redirect a roof’s runoff outside.
A crust beneath the roost
Droppings collect where birds spend the night. If that area forms a cake while the rest of the floor stays loose, remove the concentrated material rather than forcing it into the surrounding bedding.
A removable droppings tray below the roost can make that repeated job easier; Minnesota Extension describes trays as an option for collecting manure. Keep it accessible for cleaning as the floor rises. Deep litter on the floor does not require keeping every dropping there.
Condensation and dampness across the coop
Water collecting on windows or other surfaces, together with broadly damp bedding, points to a larger moisture problem than one spilled drinker. Inspect ventilation, water entry, and accumulated manure instead of treating the whole floor as a spot that needs covering.
Minnesota Extension recommends increasing ventilation and cleaning up manure when condensation or ammonia appears. Restore air exchange without directing a draft across the roost. A fresh dry layer may be part of the correction after wet material is removed, but it cannot replace airflow.
Dust clouds when you disturb the pack
Excessively dusty litter also needs attention. Look at the bedding itself and how vigorously you are handling it. Choose less dusty material and avoid throwing dry litter into the air.
Do not hose down an occupied pack or add water to reach a composting moisture target. An outdoor compost pile and an occupied chicken coop have different management needs. Dry footing does not require clouds of powder.
Ammonia means act now
A sharp ammonia smell is a reason to increase ventilation, remove wet or heavily contaminated material, and correct the moisture source promptly. Do not wait for the next scheduled stirring or try to cover the odor with another product. Strong odor or irritation calls for correction, not vigorous mixing with the birds still inside.
Avoid putting your face into the bedding to test the air. Smell is an imperfect warning because people become less sensitive with exposure. Penn State Extension’s explanation of ammonia measurement states that instruments are needed to establish the concentration. Lack of noticeable odor does not certify safe air.
For recurring problems, ask your local Extension office about appropriate measurement and housing advice. If birds appear unwell, have irritated eyes, or show breathing trouble, arrange a safe, clean, well-ventilated space and contact a poultry veterinarian. Bedding condition cannot tell you which disease, if any, a bird has.
Mold, increasing flies, or rodent signs also warrant inspection and sanitation. Do not assume the organisms in an aging pack will correct those problems. Suspected infectious disease or confirmed parasites require disease-specific veterinary or state guidance, including what to do with removed litter.
Heat and compost are separate questions
Bedding insulates the floor, and decomposition may produce some heat. Neither fact promises enough warmth for your coop or replaces weather-appropriate care. Lack of noticeable heat alone is not a reason to add water or close vents.
Months spent beneath chickens do not automatically make manure and bedding finished compost. The material you remove is compost feedstock. You have not established pathogen control by observing its age, color, or smell.
Penn State Extension’s poultry-manure composting guidance explains the need for carbon, nitrogen, moisture, and oxygen, along with temperature monitoring when pathogen reduction is the goal. Even reaching a target temperature does not mean decomposition is complete. That article concerns disease-management composting, not instructions for adding moisture to a coop while chickens occupy it.
Plan a separate managed process for ordinary removed litter. Our guide to starting a separate compost pile covers the general setup, but appearance alone cannot clear poultry manure for food-garden use. Ask local Extension for manure-composting and garden-application guidance before using it around food crops.
When to empty the coop and change routines
Remove the whole pack when dampness persists, strong odor keeps returning, mold is widespread, or accumulated bedding compromises access. A cleanout is also the opportunity to expose a wet floor and repair what successive top-ups concealed. Veterinary instructions may require a different cleanup approach after illness.
There is no universal cleanout date that overrides those conditions. Minnesota’s spring cleanout describes its winter deep-bedding option; it does not require keeping a failing pack until spring. If spot removal no longer leaves a manageable floor, use our guide to cleaning a chicken coop to plan the reset.
A shallower layer with frequent removal may fit your building and workload better. Keep checking the repaired wet spot during the next chores, whether you return to deep litter or choose another routine. For related housing and daily-care decisions, our chicken-care articles provide further reading beyond this bedding method.
Lift one corner of your coop bedding today and check what is happening at floor level. If you use deep litter, what is the first spot in your coop that tends to become damp or compacted?
Frequently Asked Questions About Deep Litter Method for Chicken Coops: Setup, Moisture, and Troubleshooting
Does deep litter keep a chicken coop warm?
A managed litter pack may produce some heat as material breaks down, but it is not a dependable heating system. Winter comfort still depends on dry birds, protection from direct wind, suitable ventilation, and a coop designed for the flock.
How often should I stir deep litter?
Check it during routine chores and loosen compacted areas before they form a hard or wet layer. The schedule varies with flock size, floor area, moisture, and bedding type. Condition matters more than a fixed day of the week.
What should deep litter smell like?
A well managed coop should not sting your eyes or smell strongly of ammonia. An earthy smell alone does not prove the pack is healthy, so check moisture, caking, dust, and the floor beneath it.
When should I remove deep litter?
Remove it when the pack is wet, compacted, producing ammonia, difficult to manage, or approaching doors and fixtures. Illness or pest problems may also require a complete cleanout using disease specific guidance.